
Xima UCaaS - Creating Inbound SMS/MMS Queue
This article covers how to make an SMS Inbound Queue. This enables you to let a number go into a queue and answer calls. Alternatively, someone can text the call queue to get a place in queue, and get a text message back when available.
Steps to create an SMS Inbound queue
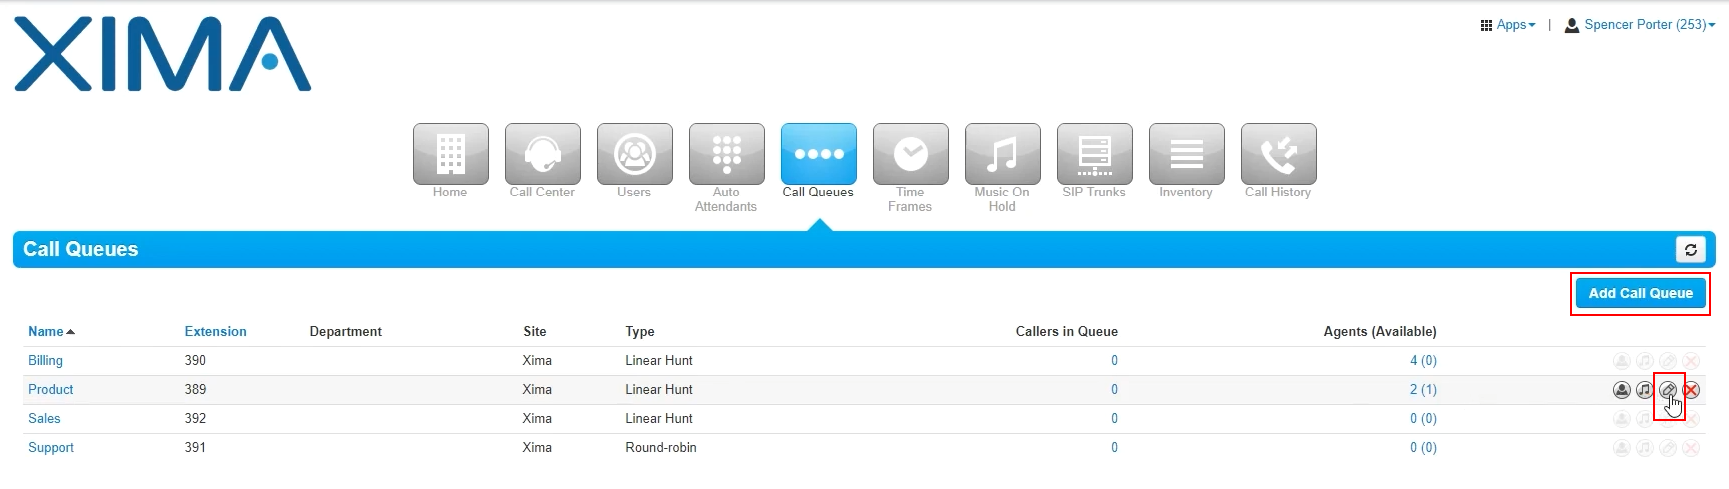
- Log into the Xima UCaaS Administrator portal, and select Call Queues\
 \
\
\ - Here you can Add Call Queue, or Edit an Existing Call Queue.
- For this example, we are going to edit an existing queue by clicking on the Pencil icon if that queue has a phone line that supports SMS messaging\
 \
\
\
- For this example, we are going to edit an existing queue by clicking on the Pencil icon if that queue has a phone line that supports SMS messaging\
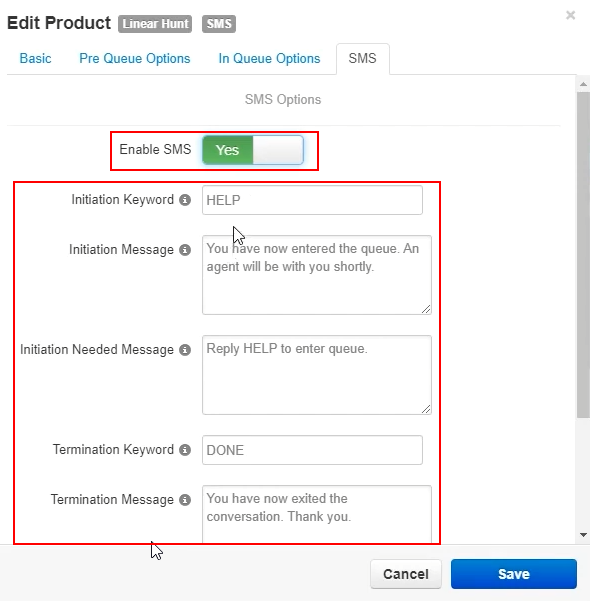
- Select the SMS tab on the edit screen\

- Toggle Enable SMS to Yes to enable SMS for this call queue\
 \
\
\
- Select an Initiation Keyword : Messenger needs to use this keyword to enter the SMS queue
- Set the Initiation Message : This is the response the queued messenger will receive when the session begins
- Set your Initiation Needed Message : The response the queued messenger will receive if the conversation started without the initiation keyword
- Set a Termination Keyword: Pick a standard word like DONE so the messenger can end the chat at will
- Pick a Termination Message : This is the message that will play for the messenger when the chat ends
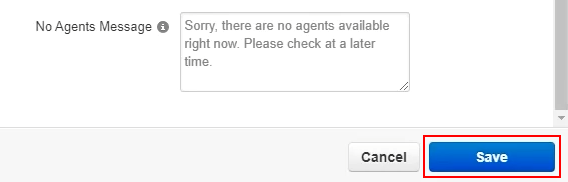
- Set your No Agents Message : The response the queued messenger will receive if there are no available agents
- Select Save to save your SMS configuration\
 \
\
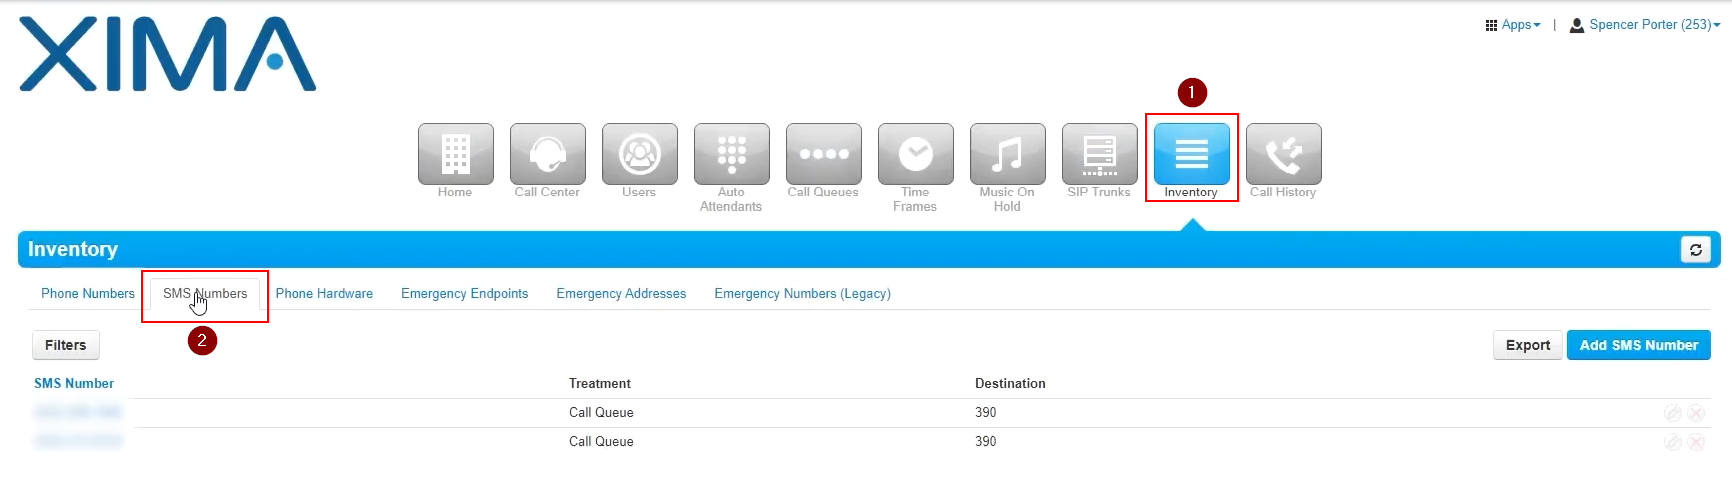
\ - Now select Inventory on the admin portal, and then SMS Numbers\
 \
\
\ - From here, we can see our listed SMS Numbers, and edit them via the Pencil icon\
 \
\
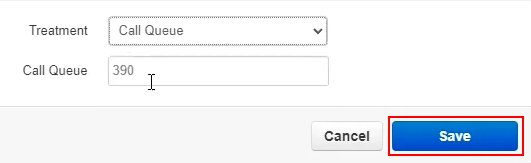
\ - From here, we can select for this number to go to an Available Number, a User, or a Call Queue, and then put in the appropriate number or extension for your selected option\

- Select Save to save your configuration
- Now you are configured to enter into the Call Queue, User, or Available Number via text message
Updated 2 days ago