
Adding an Email Address for Unavailable Queues
This article demonstrates how to add an email address for unavailable queues.
Article #: 106
How To: add an email address for unavailable queues
Similar questions: add an email address for unavailable queues, set the email address to be used for Web Chat in the event that agents are not available
Purpose: demonstrate how to add an email address for unavailable queues
Steps
-
Log in to the Xima CCaaS Admin portal.
-
Go to Contact Center Configuration > Skill Management
-
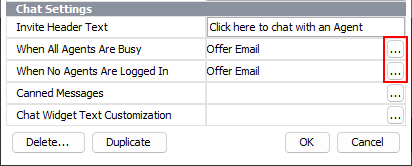
Select the three dots icon above the skill in which you would like to offer the email for.
-
A window called “Skill Definition” will appear. Go to the Chat Settings and make sure either the When All Agents Are Busy or the When No Agents Are Logged In metric, depending on which situation you would like to set up email, is set to Offer Email.
-
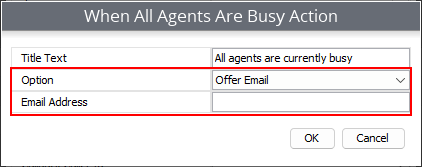
In that same window that you selected Offer Email, enter the email address you would like offered under the Email Address setting
-
Click OK when you are satisfied with your email address.
-
Click OK once more and then click Save.
Updated 8 months ago