Can't Make Outbound Calls / Callback Assist Isn't Working
This article will give you the step-by-step process of the likely reason why your outbound calls or “Queue Callback Assist” are not connecting as well as how to rectify this within the Netsapiens Admin Portal.
The most common reason for your outbound calls or "Queue Callback Assist" not connecting is because you don’t have a “caller ID” set against your user, and the termination carrier won’t accept the call because of it. To fix this:
- Log in to the Netsapiens Admin Portal. This URL will vary depending upon your instance, but it follows this same format: https://<FQDN>/SiPbx/adminlogin.php
You’ll be able to see a login page that looks something like this:
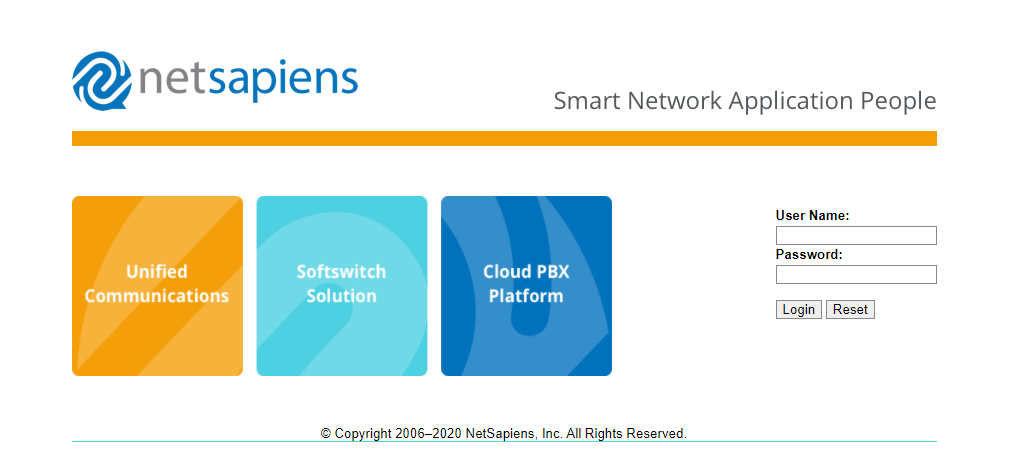
These login credentials are different from the standard portal you may be accustomed to. If you don’t know what they are, you may need to reach out to your Netsapiens Admin.
- Once logged in to the Admin Portal, go to “Users” and click “Configuration.”

It will bring you to a page with a list of all of your users. Near the bottom you’ll notice an “Export” option.
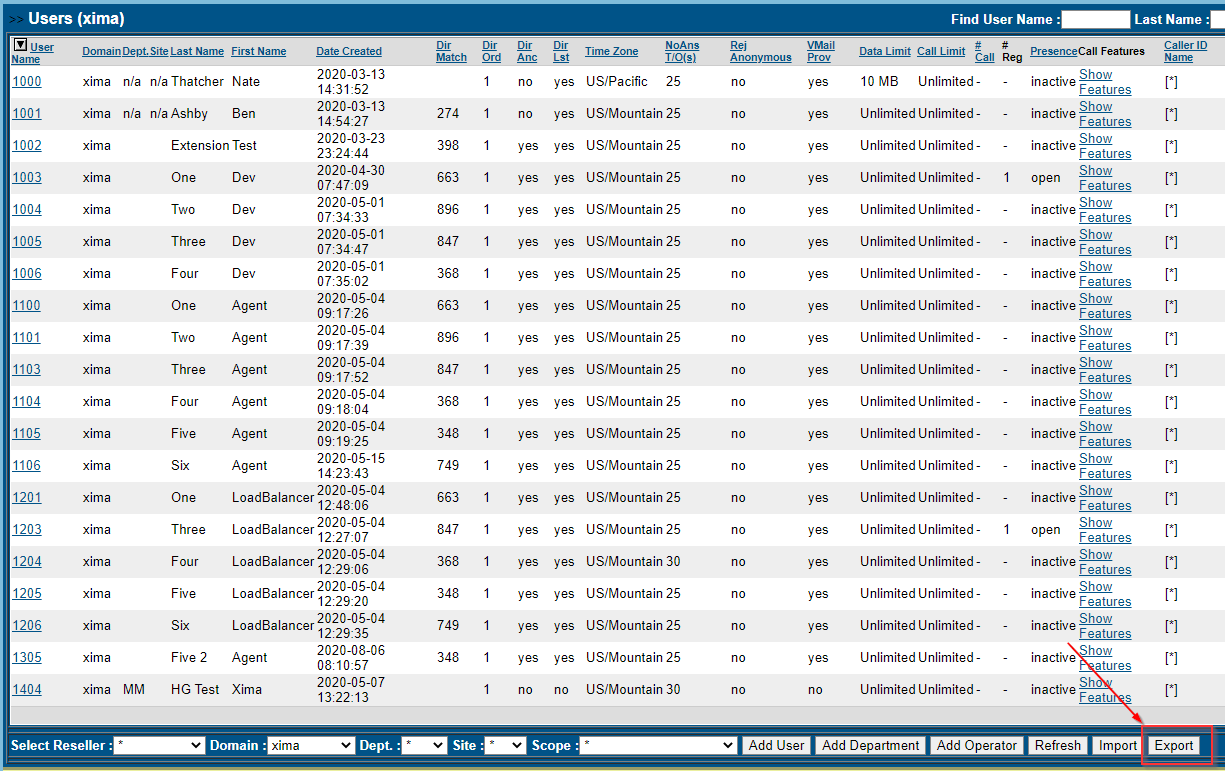
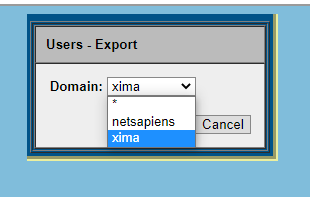
- Go ahead and click it, and it will bring you to the next page with a User Export Dropdown.
- Select the Domain in question, or a * for “all”. Once selected, click “Start Export.”
This will produce a .csv file listing out all of your users, each with a corresponding column of values.
The one that you’d likely be most interested in if you’re having this problem would be the “callid_nmbr” and “callid_emgr” fields in your CSV spreadsheet.
- You’ll need to edit these fields to the appropriate “callid_nmbr”. This can be found in the regular portal under the “Inventory” section. As a reminder, it looks like this:

- Once the “callid_nmbr” is entered into your user’s field, you will need to import this spreadsheet back into the Admin Portal. To do this, go back to the User > Configuration page and instead of clicking on the “Export,” you’ll click on the “Import” at the bottom of the page.
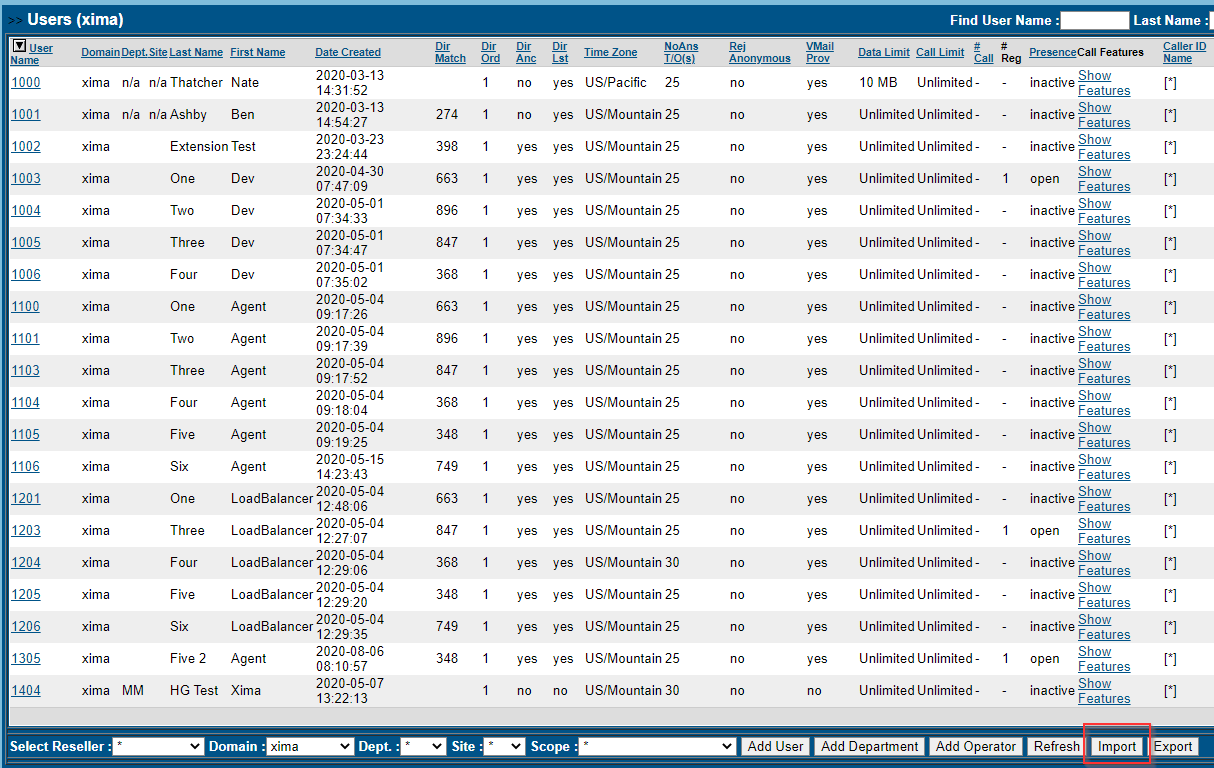
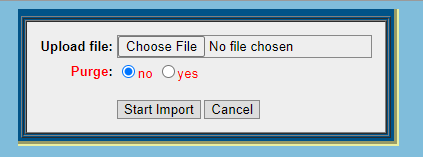
- You’ll be able to upload a file by browsing to it and clicking “Start Import.” Before you click "Start Import" please note that there is an option to purge or not to purge. If you want to maintain the existing data and not overwrite it, then click “no.” If you are overwriting the existing data and replacing it with new data, you’ll need to use the “yes” option.
Updated 3 months ago
