Building an Email Signature
Must be built by each agentMuch like other email services, the agent's email signature will need to be configured at the agent level
Navigating to the email signature creation tool
-
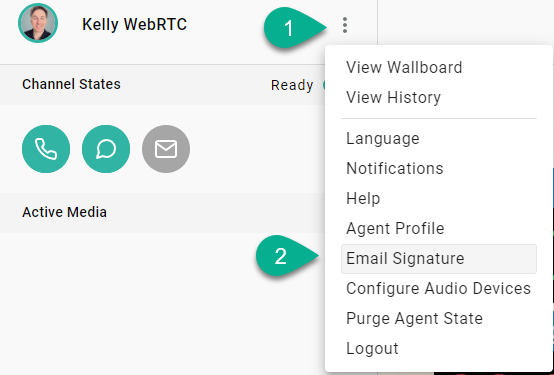
While logged into the Contact Center Agent Client as an email enabled agent (requires a professional license and an enabled email session), navigate to the ellipsis in the top left

-
Select "Email Signature"
Configuring your new signature
Best PracticeYou're company has likely standardized what the agent email signatures should include and how it should be formatted. Best practice is to have the signature template created somewhere and shared with the agents in a way they can copy then paste the content into their own signature editor tool. Then they may make the necessary modifications to personalize it.
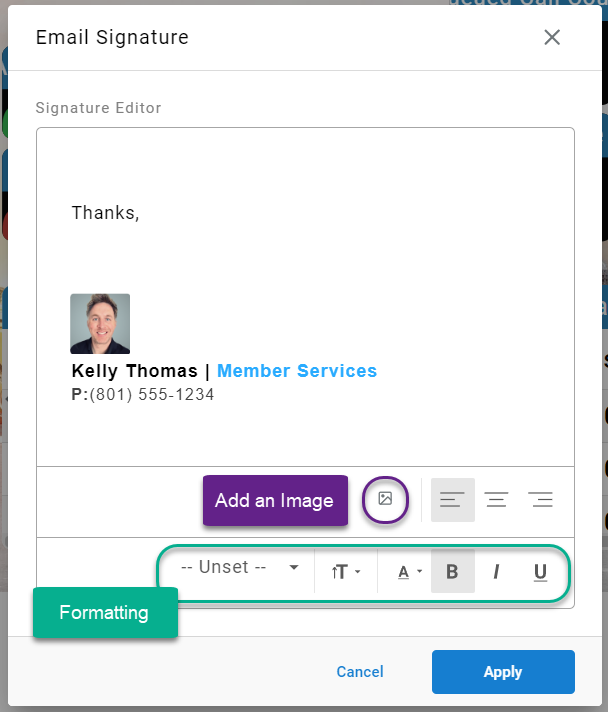
The resulting menu is a open editor canvas where you may build your own signature with custom text fonts, colors, and sizes using the text editor. You may also add an image:

To resize an image, click on it and then hover over a corner to drag the image to the desired size:

Select "Apply" to save your changes
The Result
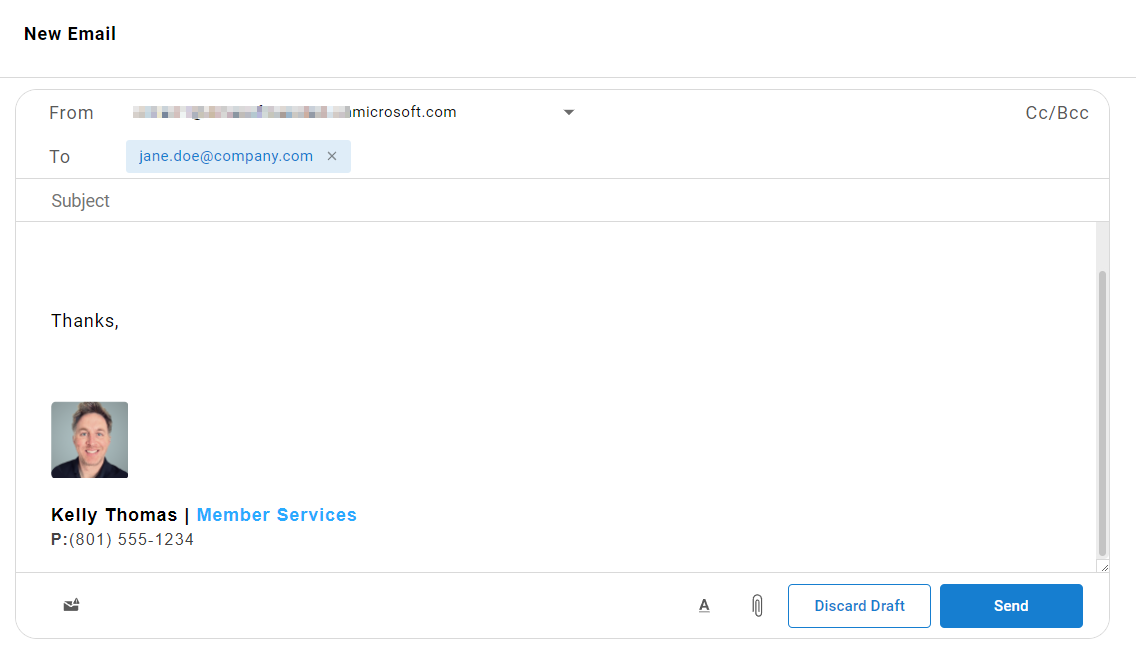
Now every time you start a new email or open a email being assigned to you as an agent, you will see the email signature at the bottom of the editor.

Signature can be edited in the bodyThe content of the signature in the email body can be modified.
Changing the signature in the body will not modify the saved signature. To update the signature for future entries, re-open the "Email Signature" menu using the ellipsis by the agent's name.
Updated 3 months ago
