
Xima UCaaS - Adding and Provisioning Yealink Device
This article specifically focuses on the Yealink t42s phone, but is a very similar process to other phones on the market
Steps to Add and Provision Yealink Device
Add Yealink Device to Netsapiens platform
- Select Users in the UCaaS Admin Portal\
 \
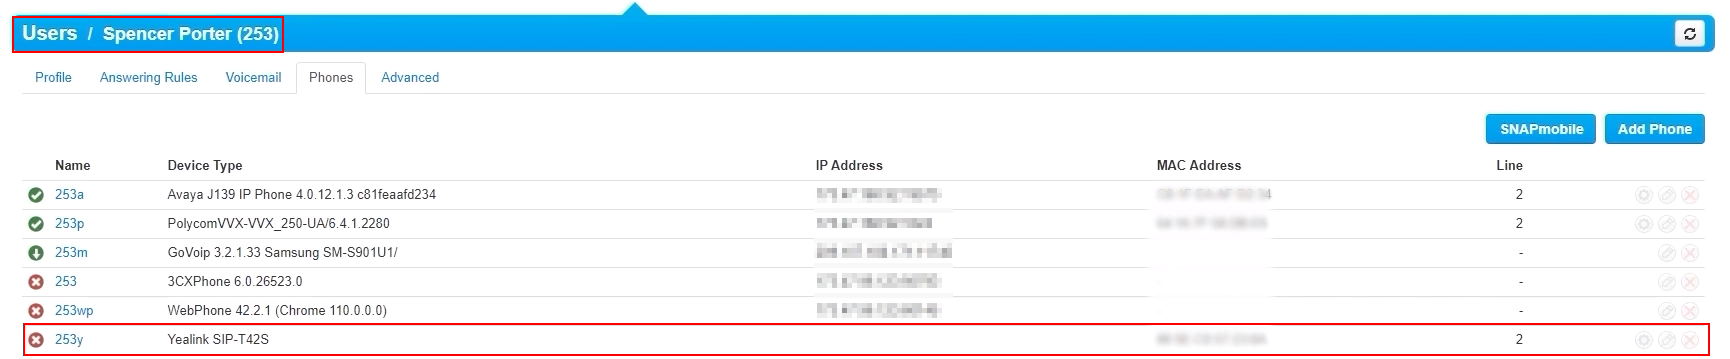
\ - Select the user of your choice, for this demo we have picked Spencer\
 \
\
\ - From that users page, select the Phones tab\
 \
\ - At the top right, select Add Phone\

- Select any letter for this phone for your extension
- Since we can have multiple phones assigned to our extension, we are going to add a y for this phones suffix for the Yealink phone we are adding
- Each phones suffix needs to be unique for each user\
 \
\ - Set your Emergency Caller ID\
 \
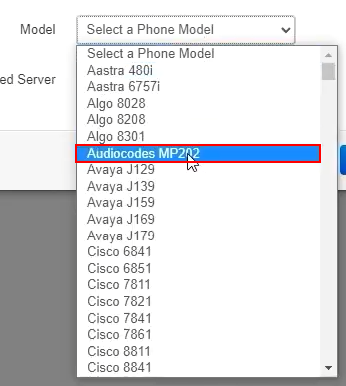
\ - Select the model of phone you are adding from the Model drop-down box\
 \
\ - Set your MAC Address
- This may be located on the back of your device
- It may also be labeled as MAC or Serial Key\
 \
\
- Set Line Number to determine the line number on which this phone will reside\
 \
\
- You should now see the phone added under your selected user\
 \
\
\
Autoprovision your Yealink Device
- Now that we have that setup, we recommend going to your phone's web portal via its local IP address
- If you are unsure of where to find this, you can look at your phone's manufacturer's guide
- In this phones instance, it was under Menu > Status > IPV4 as an example
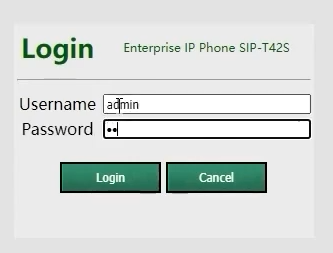
- Entering this into a browser, we get to the Yealink login screen
- The default credentials for this phone are:
- username: admin
- password: admin\
 \
\
- The default credentials for this phone are:
- From here we will want to select the Settings tab\

- Select Auto Provision from the options on the left\
 \
\ - Input the URL where the auto-provisioning will take place
http://p-nj.5060.cloud/cfg/\
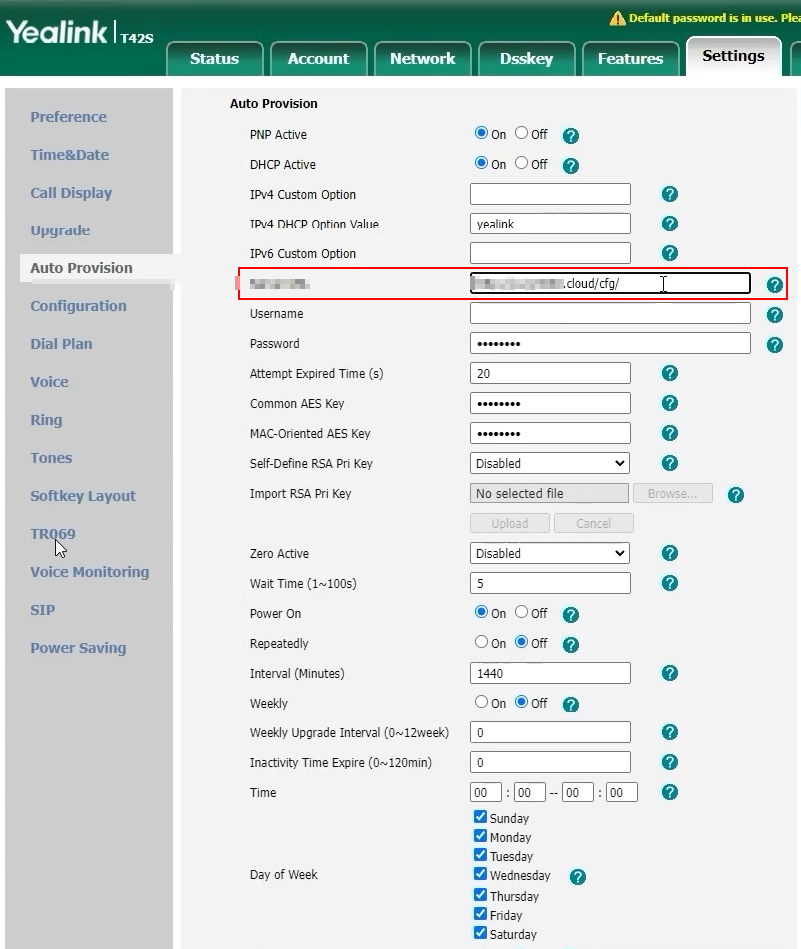
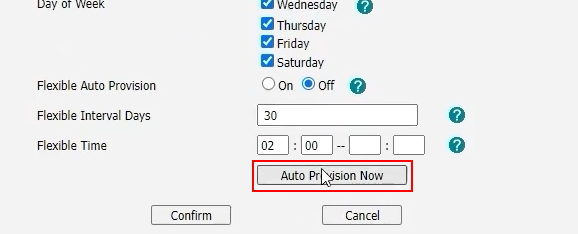
- Click Confirm at the very bottom, and wait for the operations to complete\
 \
\ - Now click Auto-Provision and it should auto-provision the phone based on the URL entered above\
 \
\ - Once this takes place, you will notice your phone flashing and it may reboot multiple times
- Your phone should now be ready to use on the Xima UCaas Platform
Updated 8 months ago