
Xima UCaaS - Building an Auto Attendant
This article covers how to build a UCaaS Auto Attendant inside of Xima UCaaS
Steps
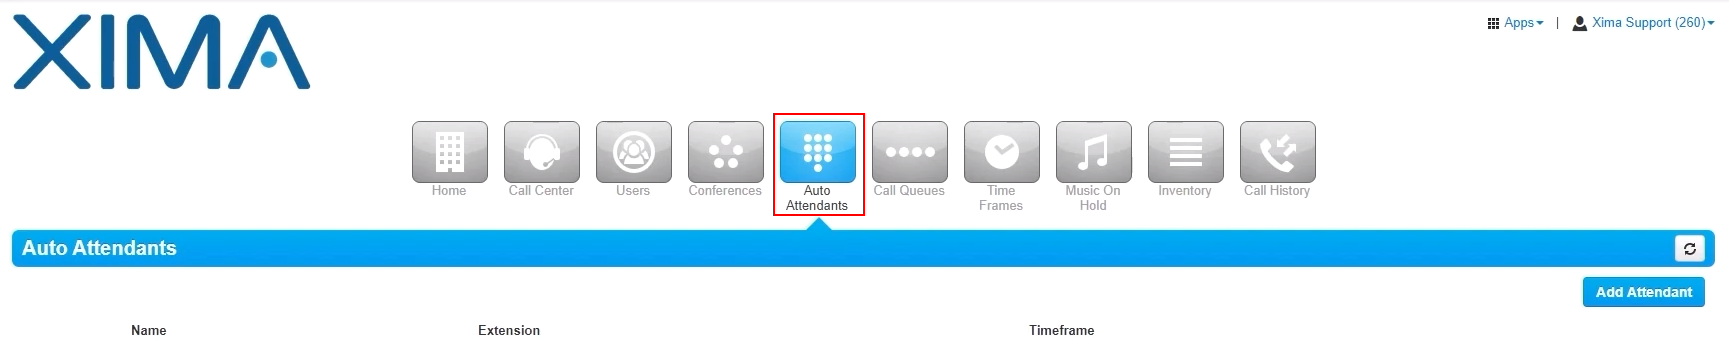
- Log into Xima UC Admin Portal and select Auto Attendants.\
- From here you can manage all existing Auto Attendants as well as build new ones\
 \
\
\
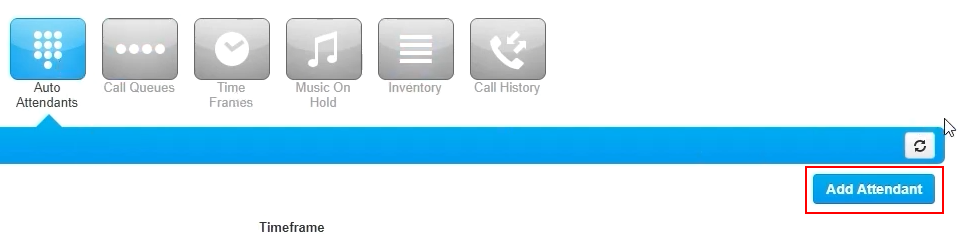
- From here you can manage all existing Auto Attendants as well as build new ones\
- To build a new Auto Attendant, click on Add Attendant\
 \
\
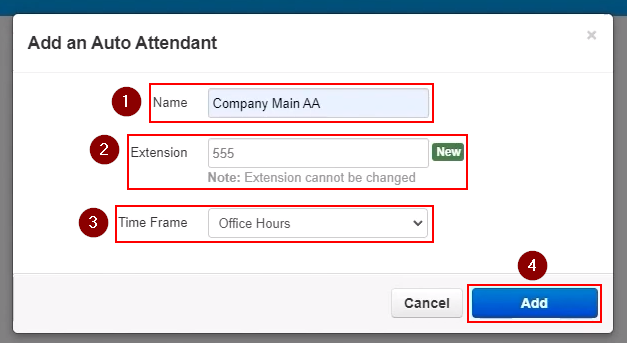
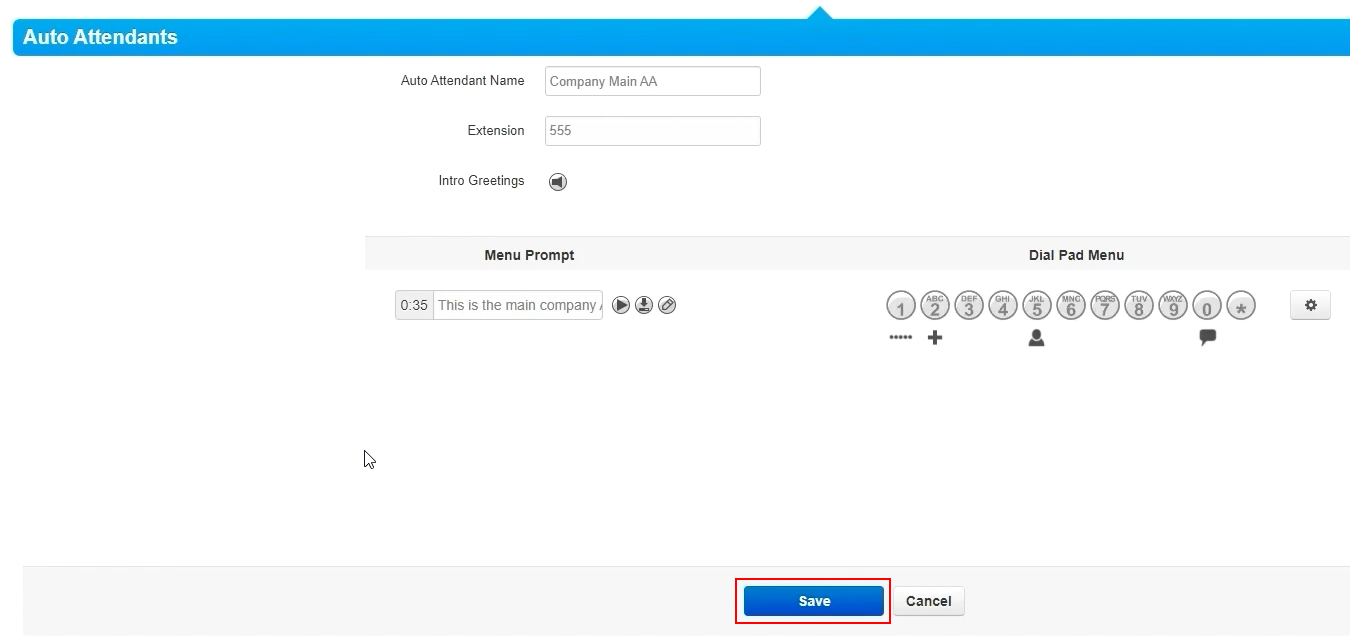
\ - Add a Name for your new Auto Attendant, an Extension that is available, and the pre-configured Time Frame you would like to use\
- NOTE: See this article if you need to configure a Time Frame\
 \
\
\
- NOTE: See this article if you need to configure a Time Frame\
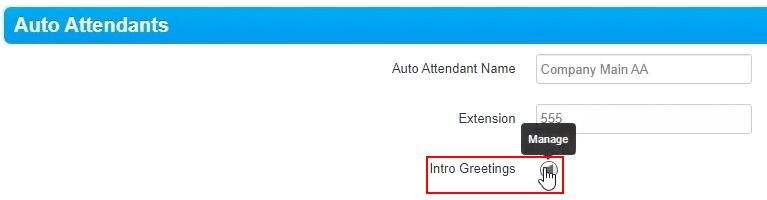
- Now that your Auto Attendant has been built you can define it\
- First, you will want to configure an Intro Greeting by clicking on the speaker icon here\
 \
\
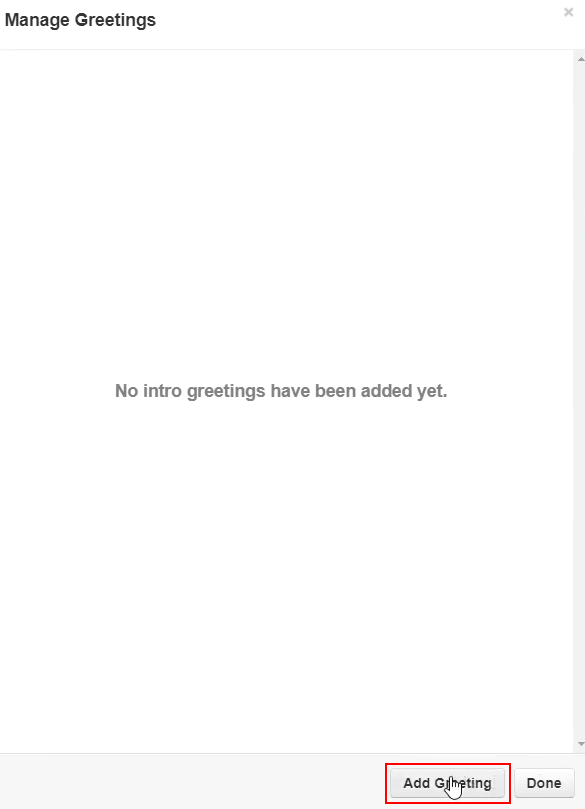
\ - Select Add Greeting at the bottom\
 \
\
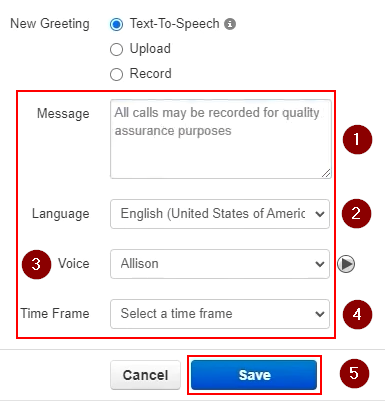
\ - Select the New Greeting you would like to use from Text-To-Speech, Upload, and Record\
- Selecting Record will call your extension to record a greeting\
- Selecting Record will call your extension to record a greeting\
- In this instance, we will use Text-To-Speech, and will fill out the appropriate fields\
 \
\
\
- Add a script to the Message field that will be read
- Select a Language to read the script in
- Select a Voice to read the script in, and you can click on the Play button to play a sample of your selected voice
- Select a Time Frame to apply to this message
- Click Save to save your changes, and then Done on the final screen to complete this new greeting\
- First, you will want to configure an Intro Greeting by clicking on the speaker icon here\
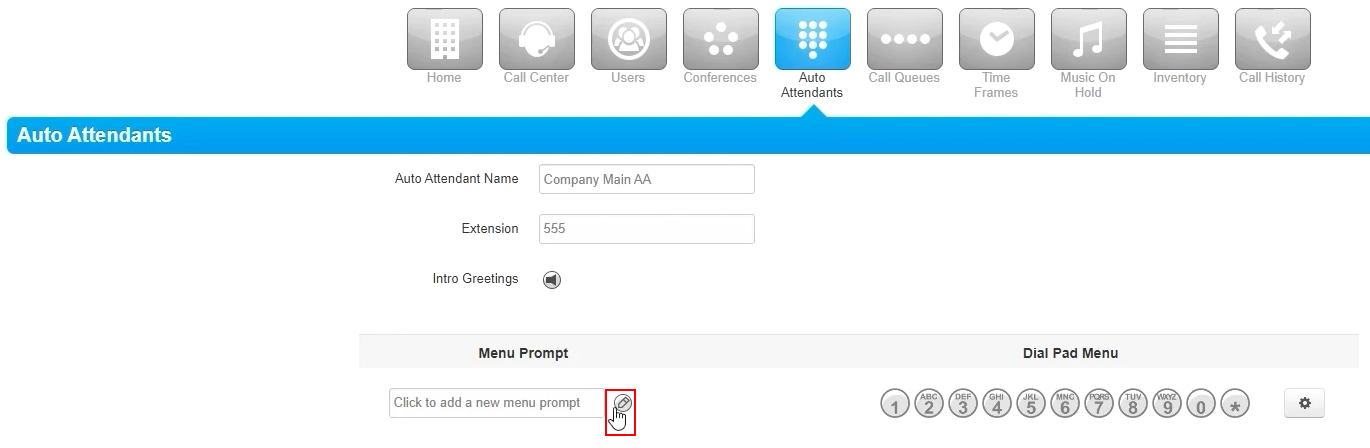
- The next step is to configure the Menu Prompt, which is the most important step in this process as it determines what prompts play to customers for each digit to press to get to the appropriatedestination in your auto-attendant\
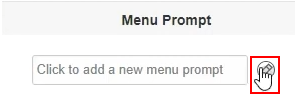
- Select the Pencil icon next to the prompt\
 \
\
\ - Choose how you would like to introduce New Greeting\
 \
\
\
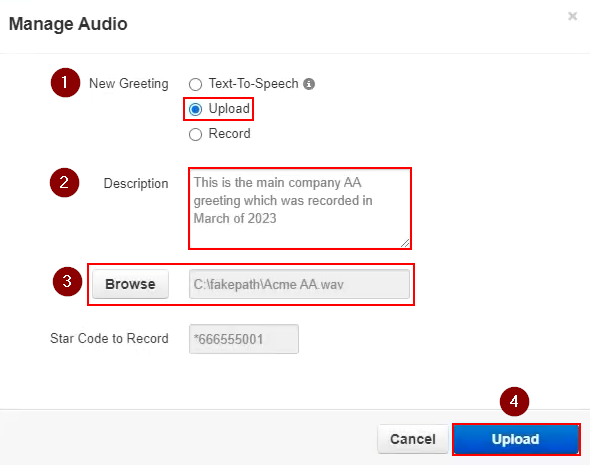
- In this prompt as a different example, we are going to use the Upload feature
- Enter in a brief Description you would like to associate with this greeting
- Select Browse, and navigate to the file you would like to upload as your new greeting
- Select Upload to upload your new greeting\
- The next step is to define the digit actions on the right-hand side for the Dial Pad Menu to define which number goes to which destination\
 \
\
\
- Select digit 1 to configure its digit actions and determine where it will go based on the available options below\
 \
\
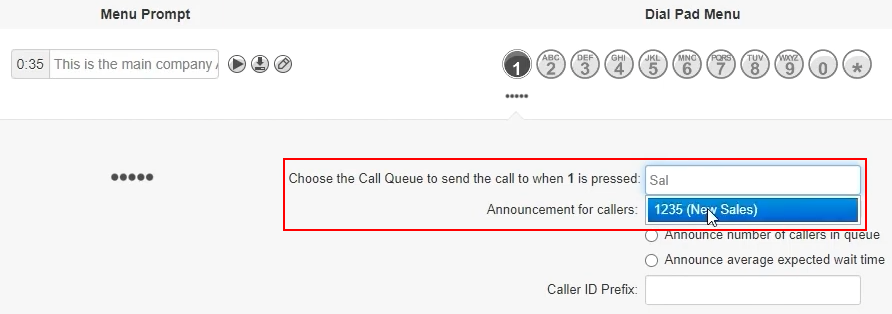
\ - For this example, we are going to configure 1 to go to Sales, and 2 to go to Support with additional tiers for support, so we will select Call Queue for when the customer presses digit 1\
 \
\
\ - Type in the Extension or Name of the destination, and it should auto-fill
- Here we typed Sales and were able to select 1235 (New Sales) from the drop-down as shown below for digit action 1\
 \
\
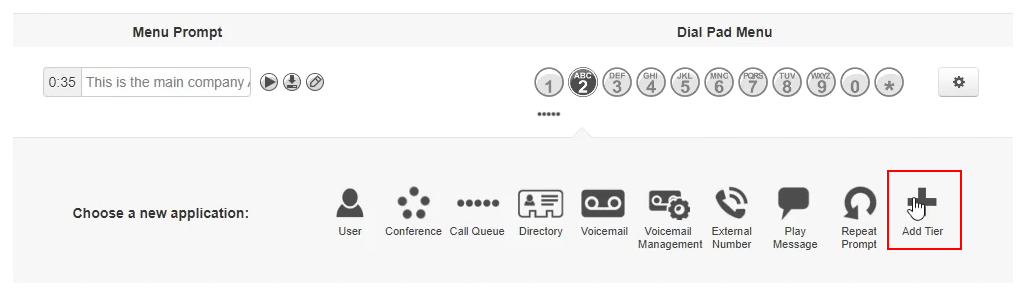
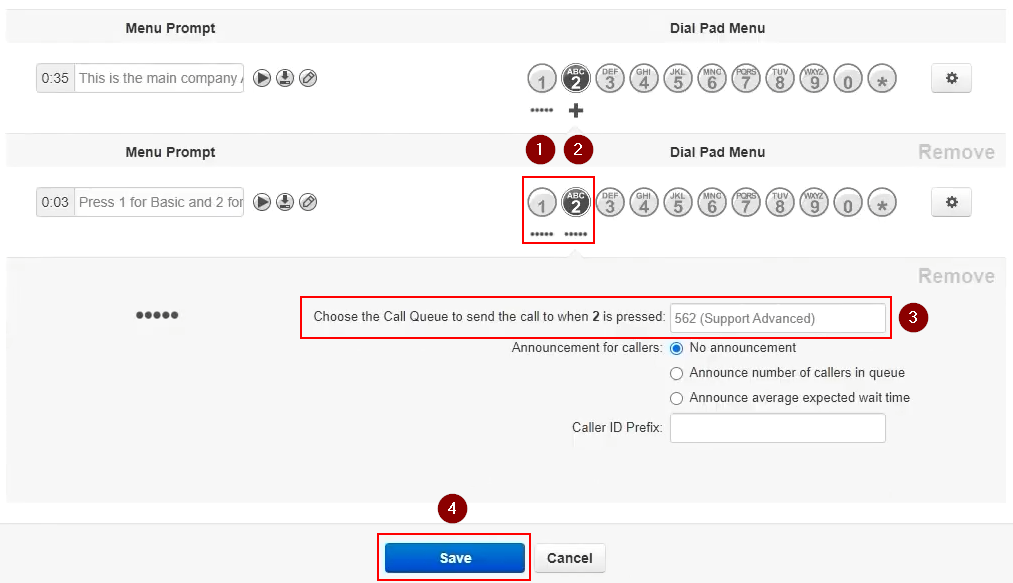
\ - Now, select 2 to add an appropriate digit action for this auto attendant\
 \
\
\
- In this instance, we want it to go to our support team, but we want additional options once they press 2 for support, so we will select Add Tier for this digit action\
 \
\
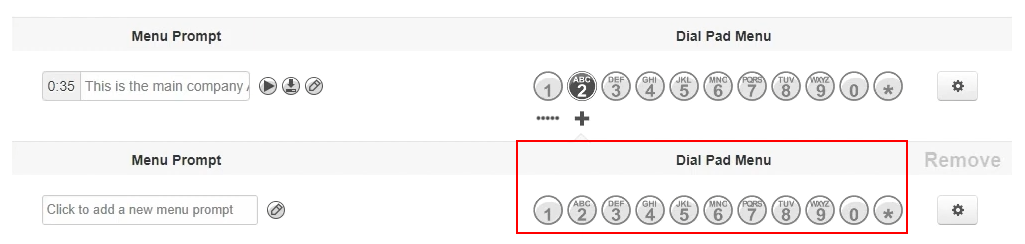
\ - This will give us an additional sub-menu for that digit action to configure when 2 or Support is selected from the auto attendant\
 \
\
\ - For this new menu, you will want to create a new Menu Prompt as covered above for this new menu in your auto attendant to determine the New Greeting, Message, Language, and Voice, and then click Save\
 \
\
\ - Now that we have a greeting, we will want to configure where each digit action goes (1 and 2 in this instance), and then click Save\
 \
\
\
- In this instance, we want it to go to our support team, but we want additional options once they press 2 for support, so we will select Add Tier for this digit action\
- Select digit 1 to configure its digit actions and determine where it will go based on the available options below\
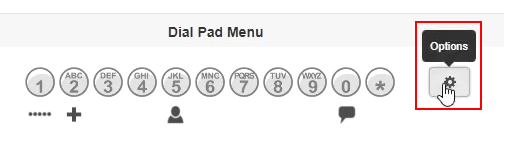
- Once you have defined each destination in your auto attendant, some additional settings are available to you in the Options cog over to the right\
 \
\
\
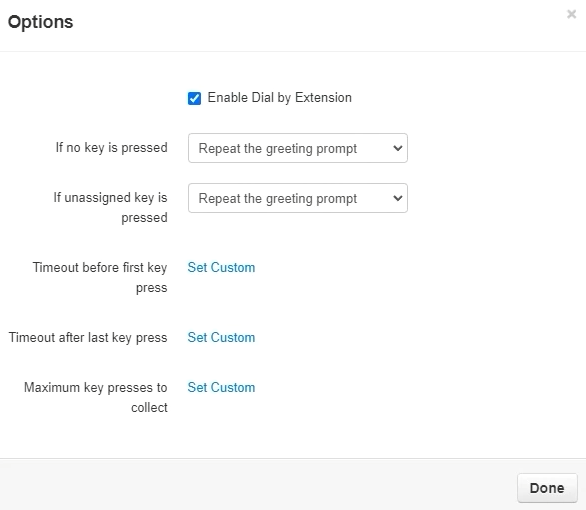
- In Options, you are able to define what happens if no digit is pressed, if an unassigned key is pressed, or if the customer waits to long to press a digit\
 \
\
\ - Click Done once you are finished here\
- In Options, you are able to define what happens if no digit is pressed, if an unassigned key is pressed, or if the customer waits to long to press a digit\
- Select the Pencil icon next to the prompt\
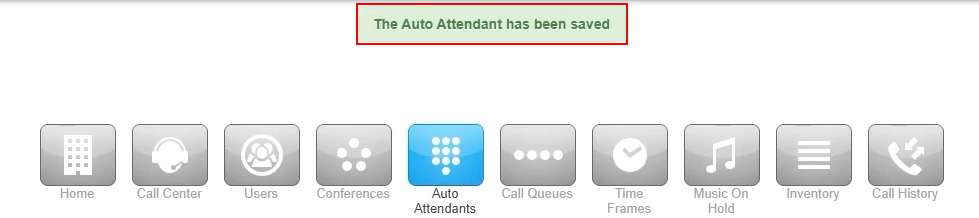
- Once you are finished click Save to save your new Auto Attendants\
 \
\
\ - You should see The Auto Attendant has been saved at the top of the screen once complete\
 \
\
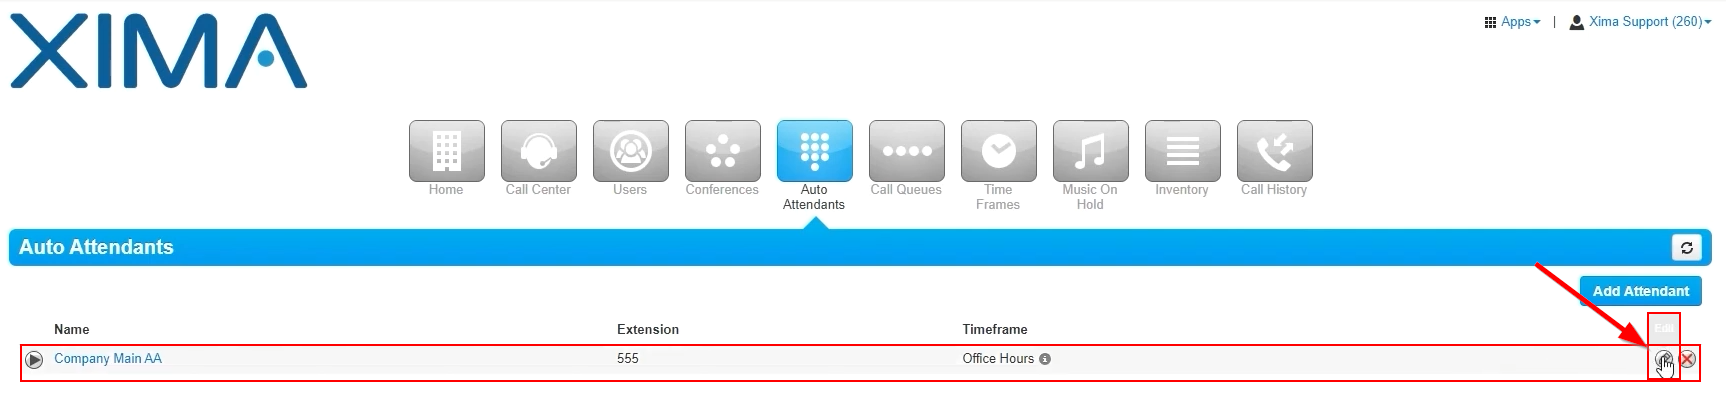
\ - To adjust an existing Auto Attendant, verify you see it on the Auto Attendants page and click the Pencil to edit or the X button to delete\
 \
\
\
1.
Updated 5 days ago