Using a Pre-Built Wallboard Template
Realtime Wallboards allow you to see the activity of your group(s)/skill(s) and agents in Realtime, without a refresh rate. This is done by a series of widgets that you can customize to reflect your specific needs. The wallboards provide you the option to build your own wallboard from the ground up, or you can use a pre-built wallboard template provided to you upon accessing the wallboards.
Pre-Built Wallboard Templates
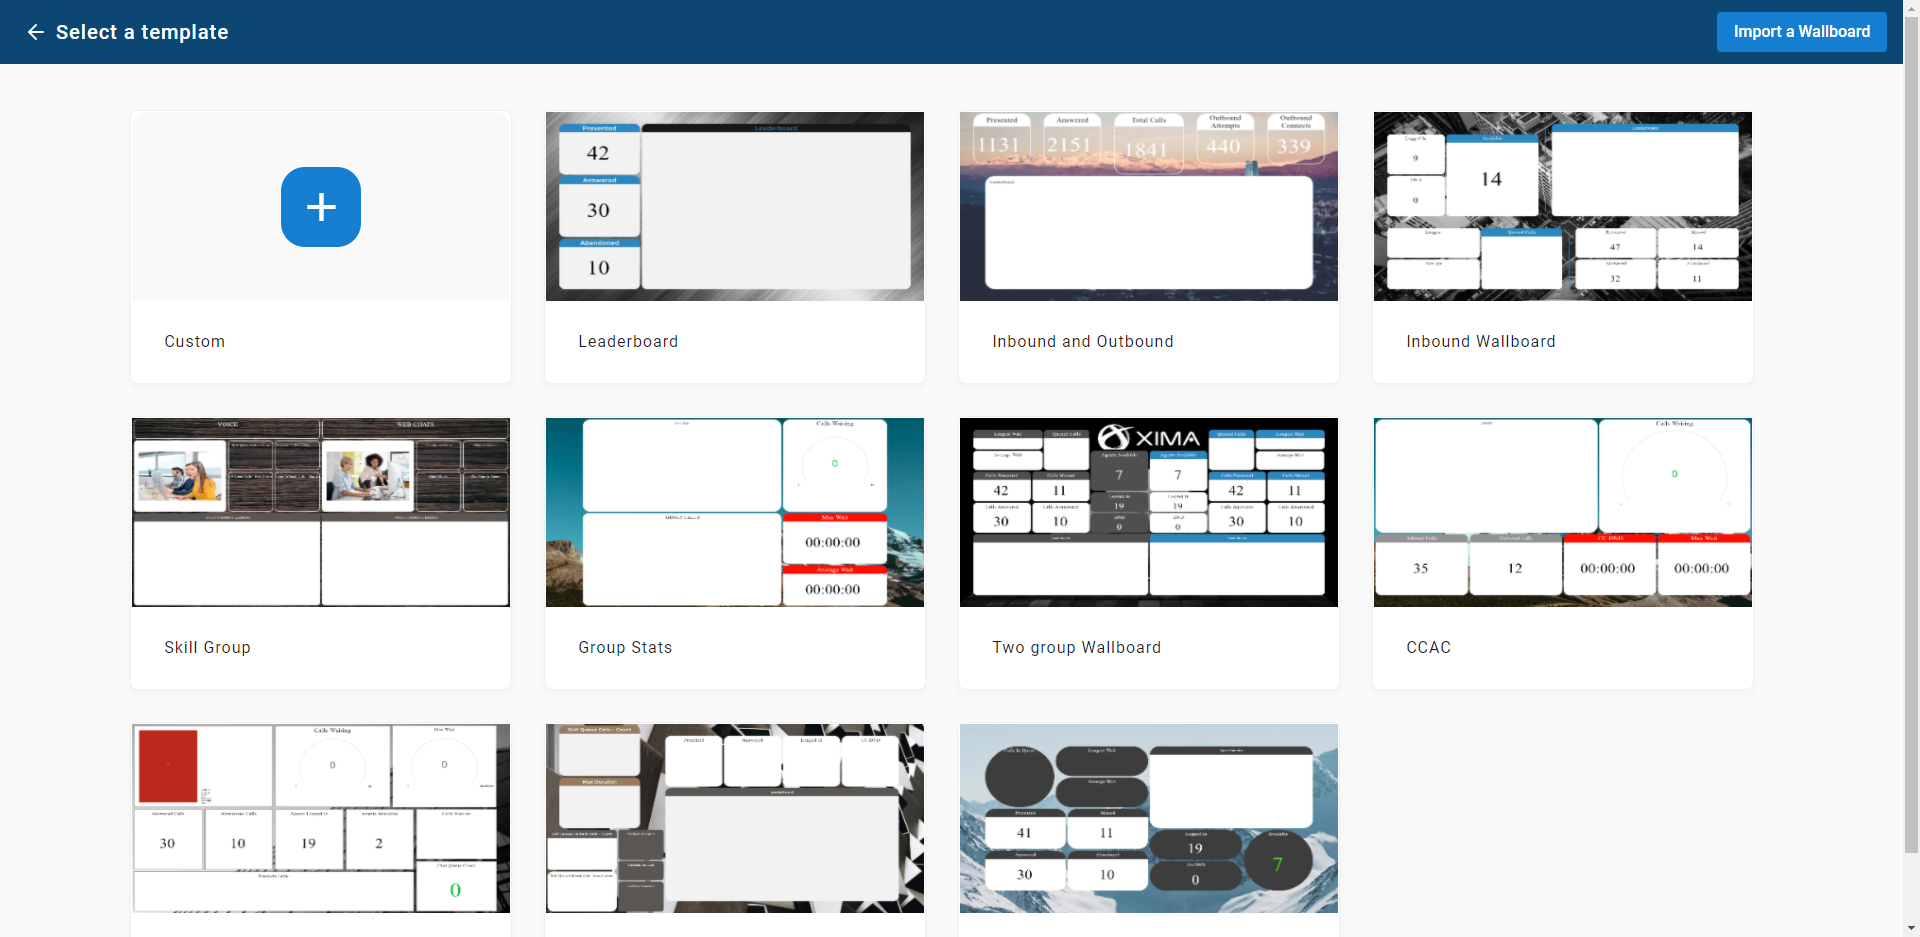
Pre-built wallboard templates save you time and effort by providing an existing stylish wallboard with pre-set widgets and metrics.
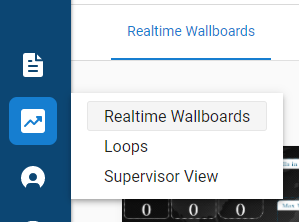
To access the pre-built templates, select the Realtime icon on the left-hand side of the screen.

Select "Realtime Wallboards," then select "New Wallboard" in the top right hand corner.

You will now be presented a screen (see above) that will allow you to select from several template options.
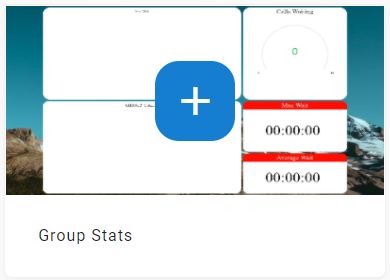
Hover over the desired wallboard template, then click on the "plus sign" in the middle.

Once you select the desired wallboard template, it will open and you will be presented the wallboard "Template Configuration" window.
Depending on the selected template, you will now select which skill(s) and Contact Center agents you would like to have monitored on the wallboard.
Select your desired skill(s) and Contact Center Agents (if applicable), then select "Continue".
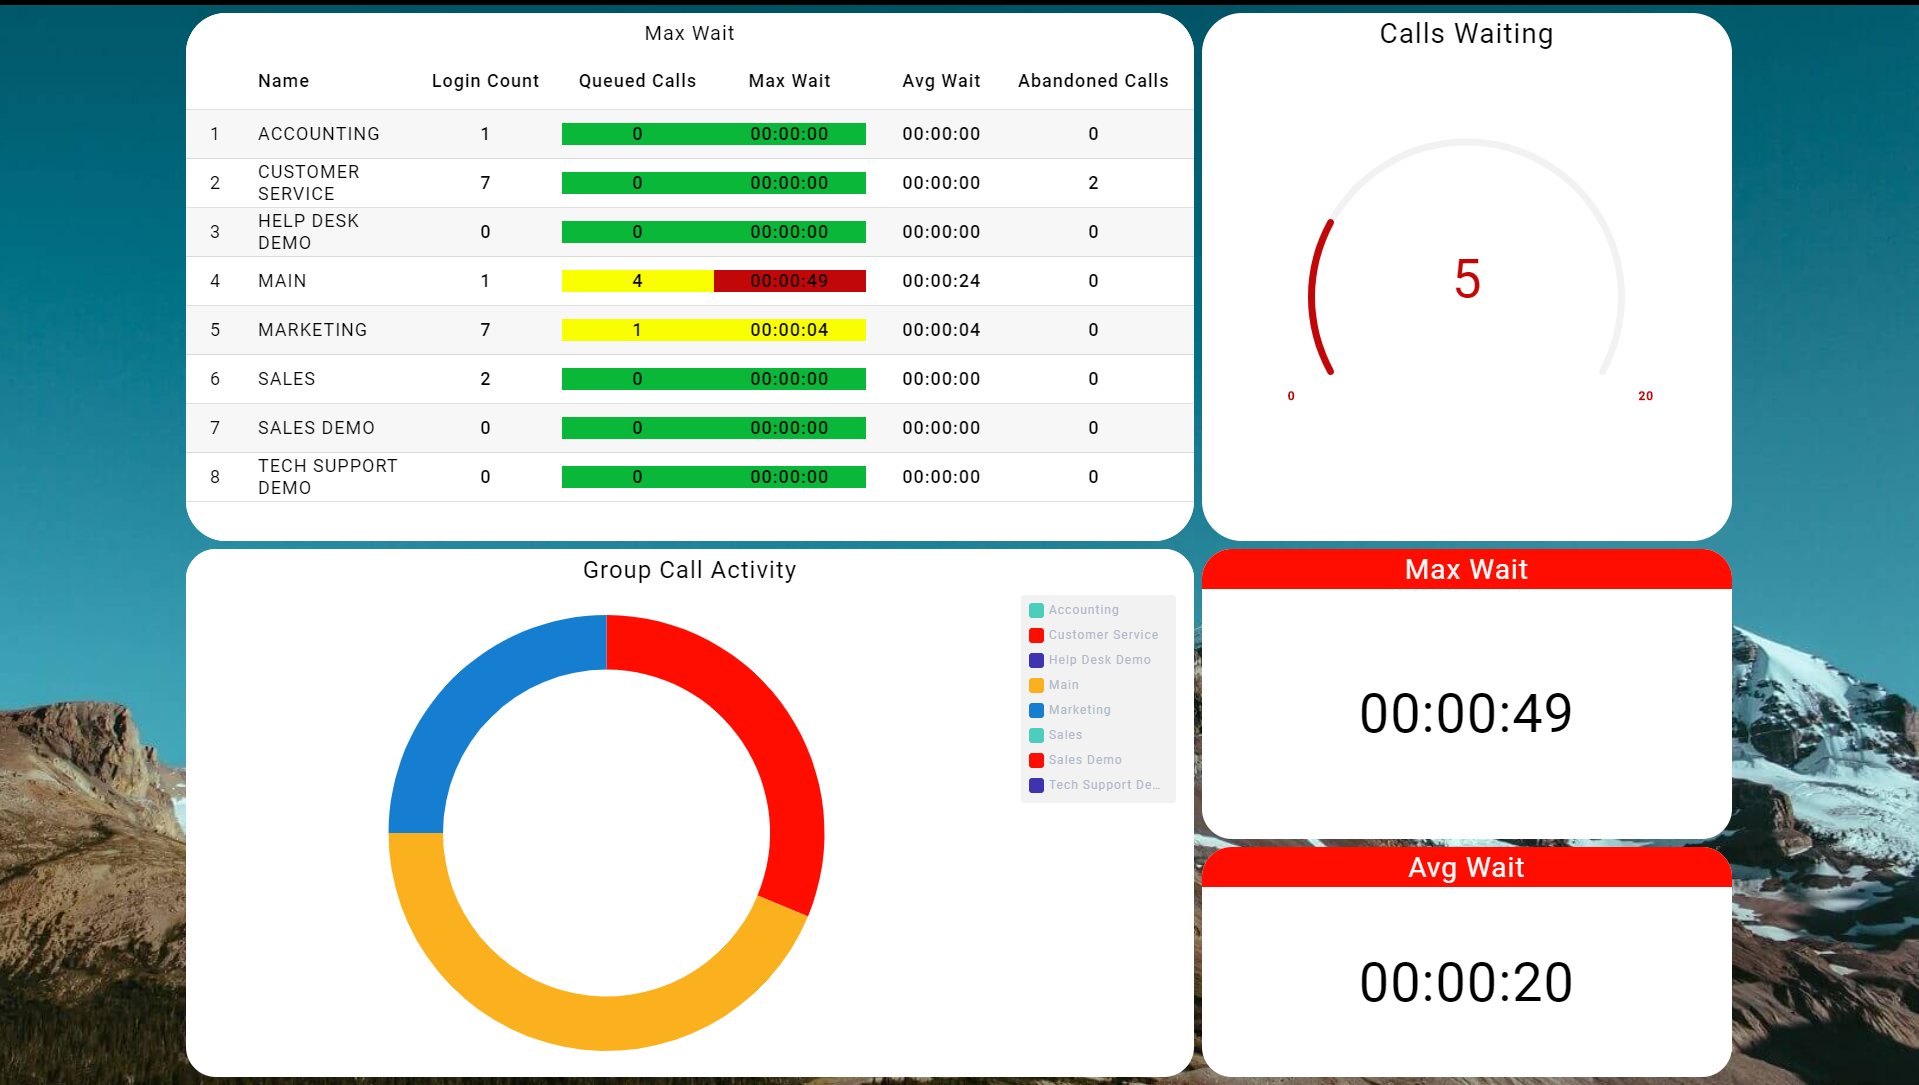
Your completed wallboard will now be displayed.

Altering the Pre-Built Template
If you are not satisfied with the metrics/widgets found on the pre-built template you are free to make any changes that you would like.
Upon selecting the pre-built template:
- Select the widget that you would like to change.
- Click on the ellipses in the top right hand corner of the widget, then select "Go To Data"
- The configuration window now opens on the right hand side of the screen. The existing value will need to be adjusted, or if you would like to change it to a different value altogether, deleted.
Altering the value
To make changes to the existing value, select the pencil tool next to the selected value. The configuration window will now appear and you can make the desired adjustments.
Note: If would like to add/remove any skill(s) or Contact Center agents to the template that has been created, select the ellipses next to the "Skills" or "Agents" section and select "Use Values". You will now be able to add/remove any skills and/or agents.
Once you have made the desired adjustments, select "Apply".
Changing the value
You may desire to completely change a value that comes as part of a pre-built template. If this is the case, simply navigate to the pre-existing widget that you would like to change.
Select the ellipses tool in the upper right-hand corner of the widget and select "Go To Data".
Next to the Metric name, click the "x". This will delete metric, and will now allow to select your desired metric.
Select the box that says "Select Metric." A list of items will be presented.
You will be able to search for values in one of two ways. First, you can scroll through the list, which is alphabetical ascending A to Z. Second, you can type in the desired value. The list will then narrow down to the list of value options that fit, or closely resemble the metric entered.
Select the desired value, and fill in the desired parameters. Then hit "Apply".
Displaying the Wallboard
Once you have finished your wallboard, you can now display it in your office. If you would like to display the wallboard full-screen through a TV, projector, or monitor, connect the computer displaying Xima CCaaS to your preferred method of display with an HDMI cord.
Once the computer is connected, select the desired wallboard to display from your completed wallboards.
Click on the ellipses in the bottom right hand corner of the desired wallboard, then select "Open." Your wallboard will then open. Select "Full Screen" in the top right hand corner of the screen. This will display your selected wallboard full screen up on the desired screen.
Updated 3 months ago
