
Time of Day and Holiday Profiles
Time of Day and Holiday Profiles define schedules that can control how inbound calls/chats are handled based on the current date and time. These profiles are referenced by IVR conditions (Time of Day and Holiday) or AI Agent profiles to alter call/chat routing or behavior during specific hours or dates.
Defining a profile does not automatically change call handling, you must explicitly attach the profile to an IVR condition or another feature that evaluates it.
See IVR Overview and AI Agent Tools
Building a New Time of Day Profile
-
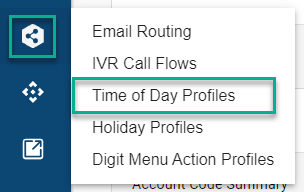
To build your first or an additional profile, select "Time of Day Profiles" under the Routing Configuration menu.
-
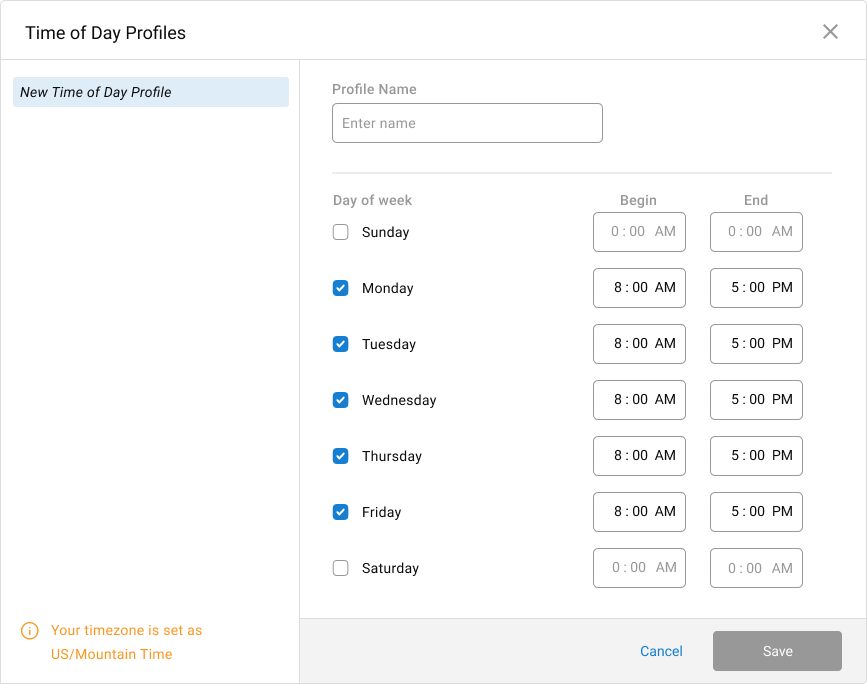
If this will be your first profile, a template will already be loaded with a default name of "New Time of Day Profile". You will need to update the profile name before saving. (i.e. "Company Hours" or "Support Team Hours"
-
If you already have existing profiles, they will be listed in the left pane. To add a new profile select "Add New Profile" in the bottom left. This is only visible when not editing a profile prior to saving.

-
By default, a profile will be set to Monday through Friday from 8am to 5pm
-
To add or remove days from the profile, use the checkbox next to the given weekday. If checked, that day will be included.
-
Adjust the Begin and End times to fit your company or departmental needs.
-
Be sure to save. When you do, the save button will be disabled, indicating the save was successful. You may continue adding or editing other profiles or exit the menu by selecting the "X" in the top right.
Check your TimezoneWe'll list the timezone your hosted service is set to in the bottom left of the profile menu (as pictured above).
To change your service-wide timezone, review this article.
Configuring a 24 hour dayWhen configuring the begin and end times, you'll notice you can only select 12:00a - 11:59p
Rest assured that the 11:59p time will "round up" to midnight. In other words, if you need to be open for the full 24 hours, use 12:00a - 11:59p
Building a New Holiday Profile
-
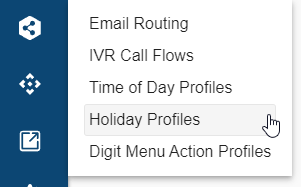
To build your first or an additional profile, select "Holiday Profiles" under the Routing Configuration menu.
-
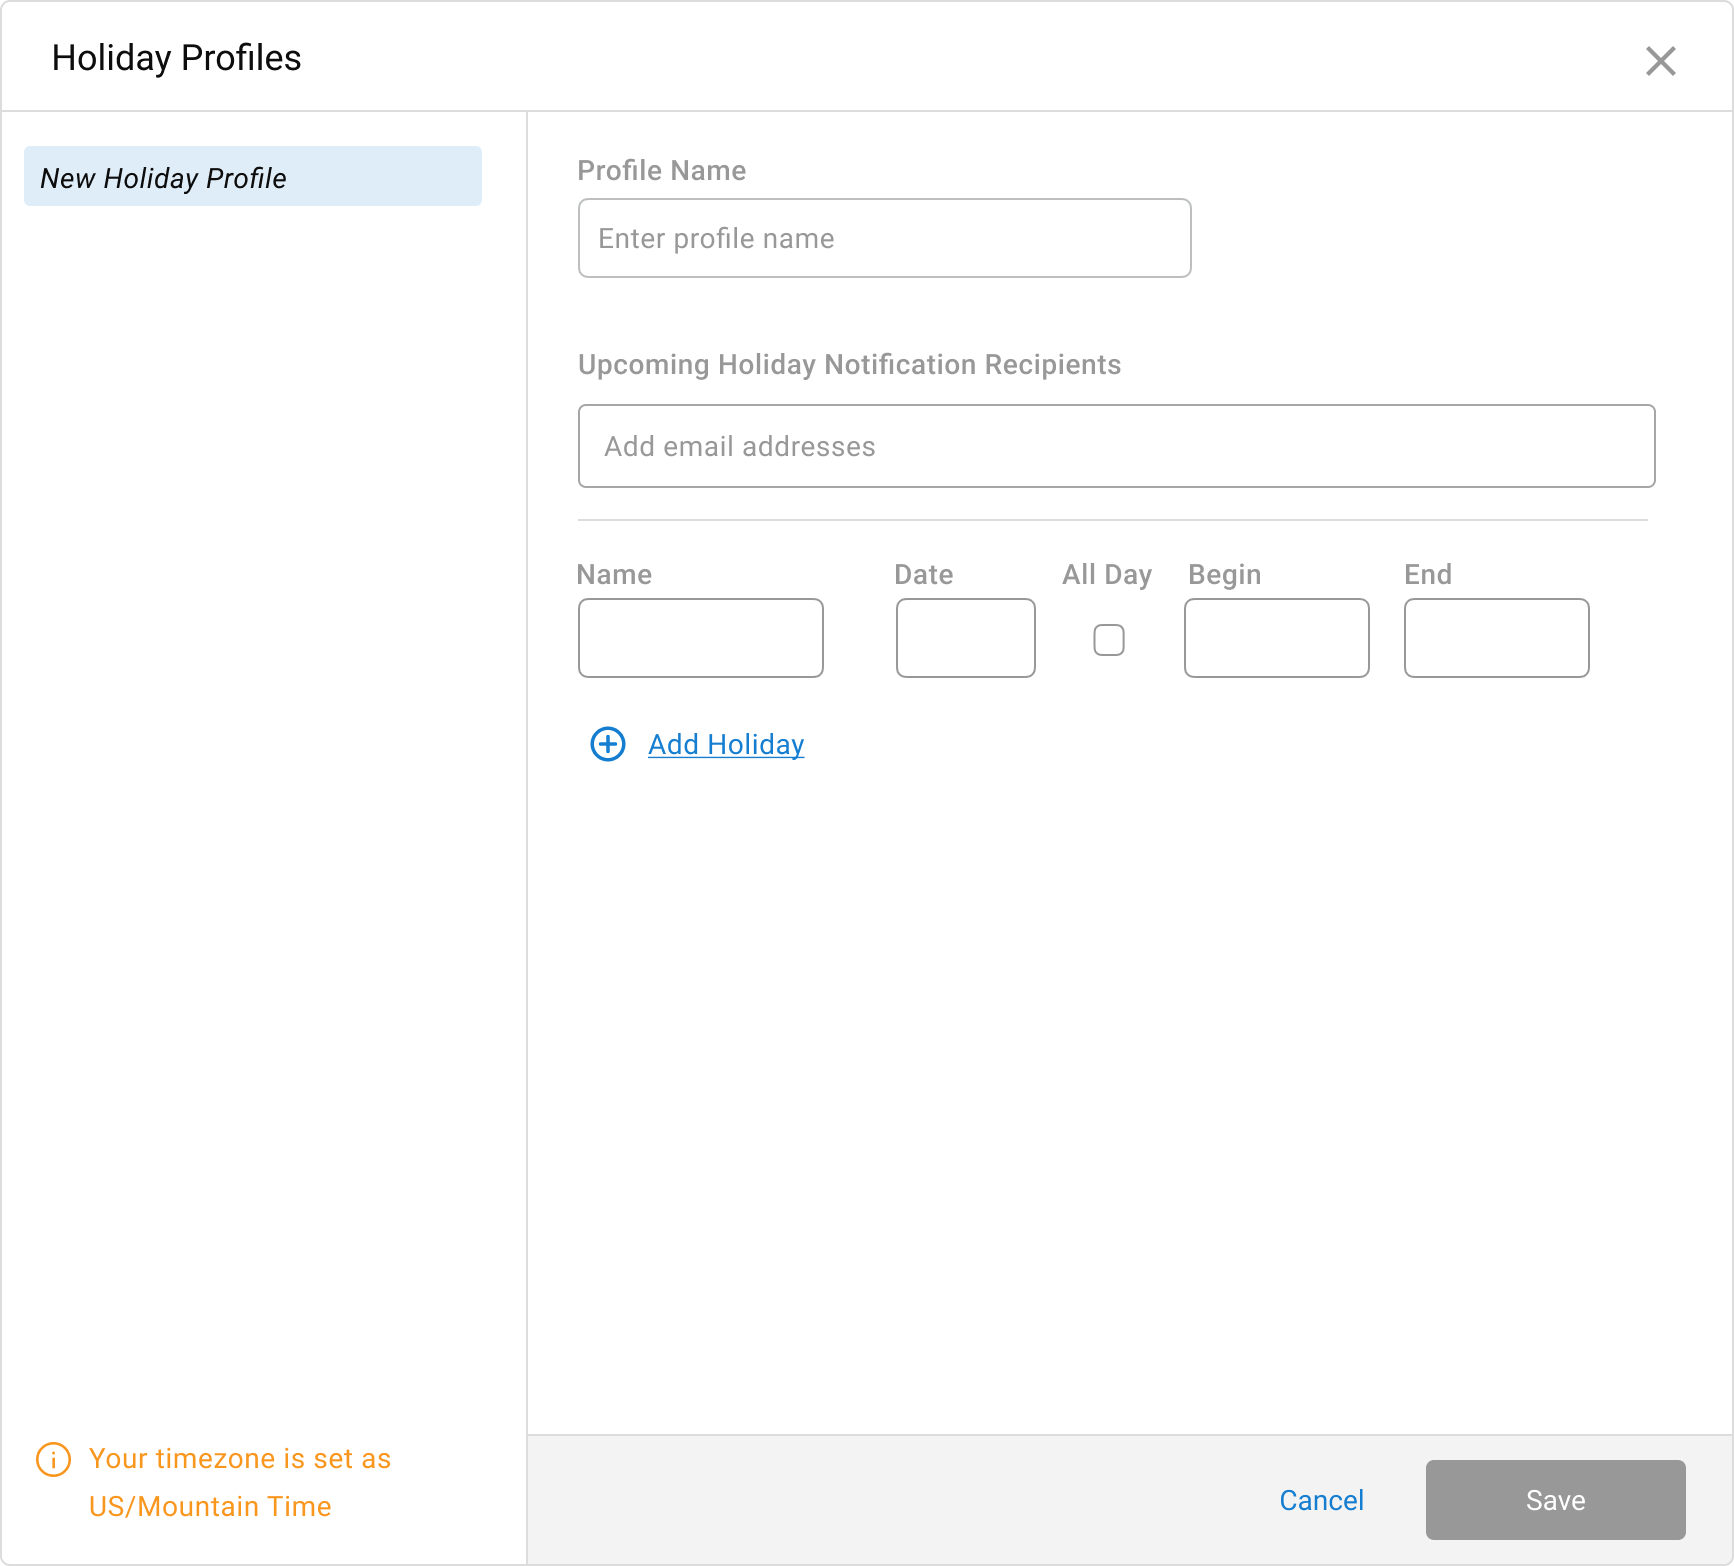
If this will be your first profile, a template will already be loaded with a default name of "New Holiday Profile". You will need to update the profile name before saving. (i.e. "Company Holidays" or "Support Queue Closure"
-
If you already have existing profiles, they will be listed in the left pane. To add a new profile select "Add New Profile" in the bottom left. This is only visible when not editing a profile and prior to saving.
-
-
Next, populate the "Upcoming Holiday Notification Recipients" field with email addresses for contacts that should be notified of an upcoming holiday closure scheduled.
When will notifications be received?Email notifications of an upcoming closure will be sent to those assigned 5 days prior to a scheduled holiday closure. This is your opportunity to correct the holiday profile if the closure is no longer correct or applicable.
-
If you already have existing profiles, they will be listed in the left pane. To add a new profile select "Add New Profile" in the bottom left. This is only visible when not editing a profile and prior to saving.
- To add a holiday, either start populating the empty row provided or click on "+ Add Holiday" if no empty rows are available.
- Name - Clear but short name of the holiday or reason for closure. Note: this name will be displayed in the email notification as well as reporting.
- Date - When is the day of closure? By default, the format is MM/DD. However, if you're in a region that uses DD/MM and have updated your tenant to use that format, it'll be respected here as well.
- All Day (checkbox) - Should the holiday closure apply all day long? If selected, Xima will cover the full 24 hours and will disable the fields for defining the begine and end time.
- Begin - What time should the closure begin?
- End - What time should the closure end?
Check your Timezone
We'll list the timezone your hosted service is set to in the bottom left of the profile menu (as pictured above).
To change your service-wide timezone, review this article.
- To add additional holidays, select the "+ Add Holiday" option to add a new blank row.
- Be sure to save. When you do, the save button will be disabled, indicating the save was successful. You may continue adding or editing other profiles or exit the menu by selecting the "X" in the top right.
Updated 3 months ago