
Changing an Agent's Nickname for Web Chat
If you're hoping to set the agent name that your customers see in Web Chat, you'll need to change the agent's nickname by following this article.
NOTE: This can only be adjusted by a manager or administrator in the HTML client of the software.
Steps
- Log into your instance of Xima CCaaS using your credentials
- Select the Realtime icon in the left pane, and then select "Supervisor View"
- Find the agent you need to modify and select the ellipsis menu button in their pane
- Select "Edit Profile"

- Add the agent's nickname and add an agent image if desired
- Save your changes

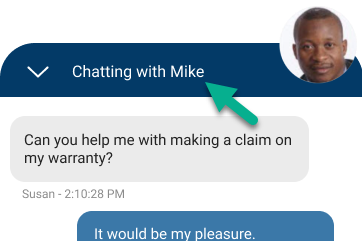
- With the nickname changed, your customers will now see the preferred name in Webchat
Updated 8 months ago