
Busy/Reason Codes (DND)
This article provides information on the different types of busy reason codes and how to configure them. Busy codes provide further visibility and opportunities to make sure that your agents are performing to the best of their abilities.
With the Xima CCaaS Contact Center Agent Client you will be able to track the daily activity of your Contact Center agents based on Busy Codes. This provides further visibility into the daily activities of your Contact Center agents.
Configuring Busy Codes
The process to configure busy codes can be done with an Xima CCaaS administrator or manager user account in the Xima CCaaS client.
Creating Busy Codes
In this example, we will be walking through the configuration of the Busy Codes. To configure the Busy Codes:
-
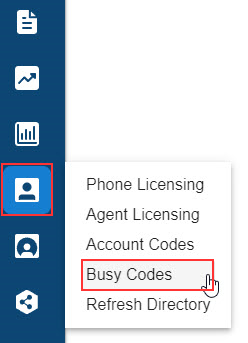
Navigate to the User Management section of the vertical navigation bar and select Busy Codes\
-
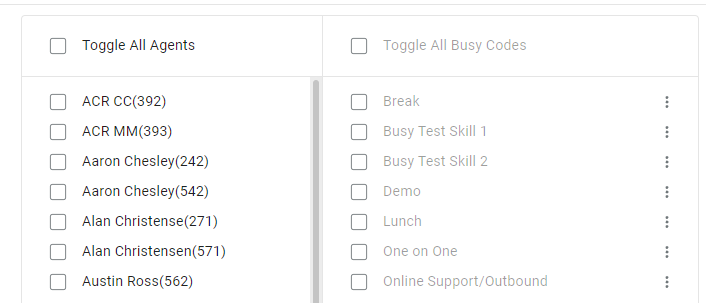
A list of agents will now appear. These are your Contact Center agents\
-
-
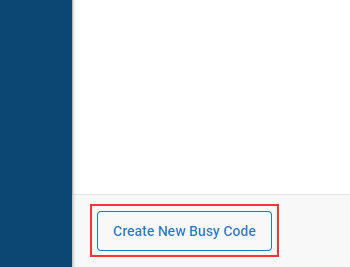
At the bottom left of the page, select Create new Busy Code\
-
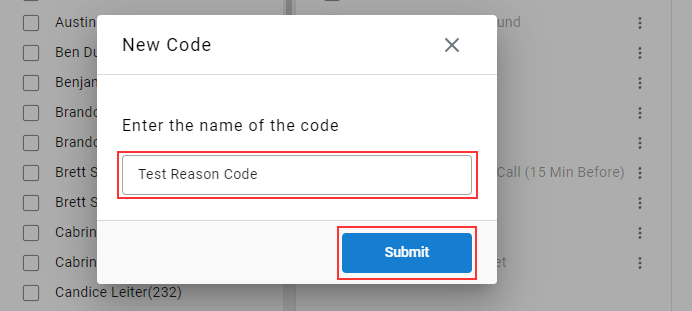
Enter the desired reason code you would like to create\
-
Hit Submit
-
Repeat for every Busy Reason Codes you would like to create
Assinging Reason Codes To Agents
Once you've created a Reason Code, you can now assign it to the desired agents.
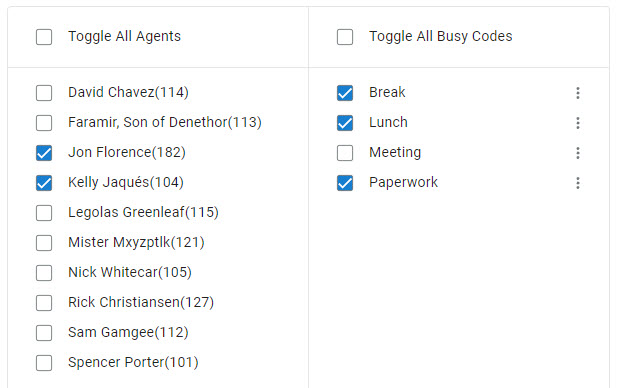
- Select the checkbox for all agents to whom you'd like to apply the new or existing busy codes.
- You may also select the Toggle All Agents option if you want all agents to be selected
- Select the checkbox for all busy codes you would like to assign to those agents
- You can Toggle All Busy Codes if you would like all available busy codes to apply to all selected agents
- Select Save when finished
The selected Busy Reason Codes will now be assigned to the selected agents.
Updated about 1 month ago