
Mapping Messaging to an AI Agent
For an AI Agent to be the primary target for a messaging channel (web chat, SMS, or WhatsApp), you'll need to define the route based on the source. This article will walk you through how to accomplish this.
Add Mapping for an AI Agent
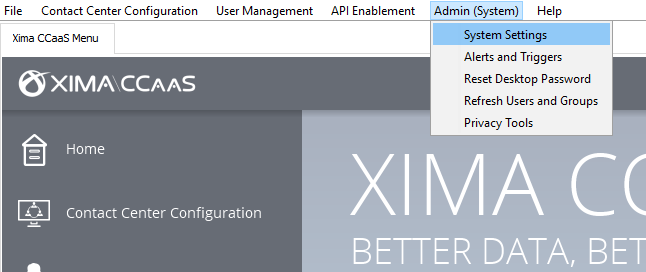
While logged into the installed Admin client for Xima CCaaS, navigate to Admin > System Settings
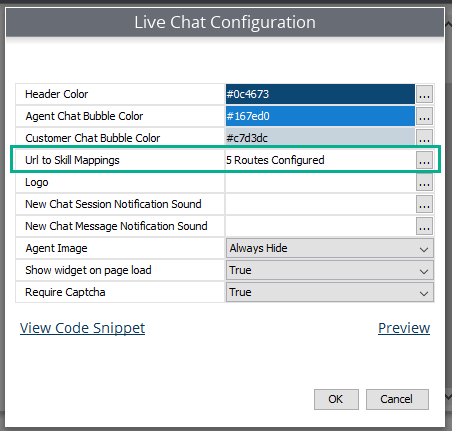
Select "Web Chat Agent" near the bottom and then "..." for Chat Config:

Then select "Url to Skill Mappings"
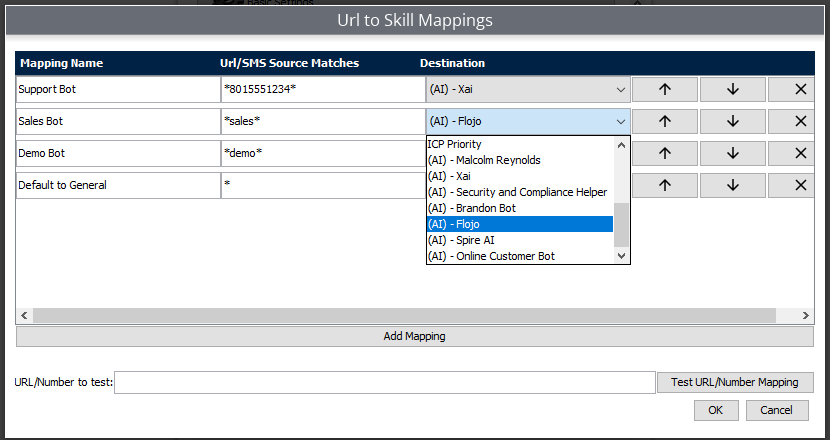
You may add a new mapping to the mapping order or modify an existing map.
Mapping Name: Names the route that is being used if the criteria is met
Url/SMS Source Matching: This field should include a portion of the URL where the web chat is attached or the number of the DNIS used for SMS or WhatsApp when texting into the CCaaS service. A " * " can be added before and/or after the mapping key to represent that additional characters may precede or follow the given value.
Destination: Here you may select a skill queue or an AI Agent as the destination if this rule was met. This is where you'd want to use the desired AI Agent
Order: Don't forget to move the mapping rule up or down to ensure it's in the proper order compared to other rules. As a reminder, rules are checked from the top down.
For more details on mapping, visit this article.
If you configured it correctly, the AI Agent will now be the answering party on the defined map. The skills that an AI agent then transfer to, if needed, are defined in the "Transfer to Skill" tool.
Updated 2 months ago