
Configuring Netsapiens Virtual Handset
Configuring a Netsapiens Virtual Handset creates a SIP-based extension that Xima CCaaS uses to send and receive calls through your NetSapiens PBX. This virtual handset acts as the bridge between your phone system and Xima, enabling proper call routing, transfers, and reporting within the platform.
Netsapiens Extension Configuration
The first step to configuring your Netsapiens Virtual Handset is to configure an extension within the Netsapiens platform.
-
Log into the Netsapiens portal
-
Select Users and then select Add User
-
Within the Add a User menu
- Fill out the user's information (see example below)
- Ensure that Enable Voicemail is disabled by unchecking the box
- Select Add User

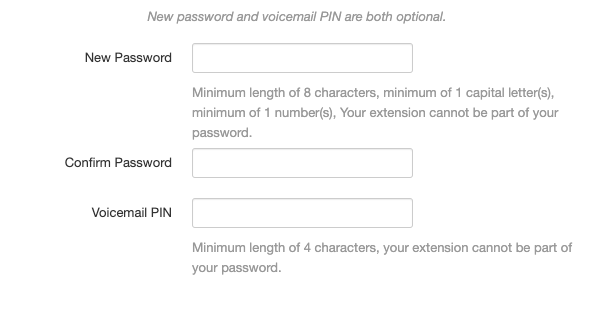
This user is being created as a virtual handset, not as an agent. The additional fields shown (such as Site, Emergency Address, Emergency Caller ID, Password, and Voicemail PIN) are not used by Xima and can be left blank or set to default values.
- On the Users page, search for the newly created extension
- Once you've found this user, select the pencil icon to the right, and then select the Phones tab
- You will then arrive at the phone configuration equipped with the Domain, Outbound Proxy, Username, and Password (see below)

- After configuring the settings within this menu, note the Domain, Outbound Proxy, Username, and Password, or keep this tab open. You'll need these values when configuring the SIP extension in Xima CCaaS.
- Hit Save
Xima CCaaS Netsapiens Extension Configuration
Target Platform Configuration RequiredPrior to registering SIP extensions in Xima CCaaS, you'll need to have the target platform integration configured. To learn more, review this article.
-
Upon finishing the extension configuration within the Netsapiens platform, log in to Xima CCaaS
- The default username and password are as follows:
- Username: Administrator
- Password: password
- The default username and password are as follows:
-
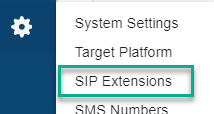
Once logged in, select the System Settings tool (gear icon) and select SIP Extensions
-
Select the "+" to add your first or a new extension to register.
-
Enter the Virtual Handset SIP Extension and SIP Password, and then hit "Save."
Upon entering the information, you can now check the SIP Extension that you have just created, and it should display as Registered.
Additionally, you can log in to the Netsapiens platform and see the configured Virtual Handset as All Green.
Once the Virtual Handset has been configured, it will then be necessary to point a DID to the handset in order to take calls and have them transferred to the Contact Center agents.
Please note that it is common to configure the UC extensions to be able to handle an "unlimited" number of calls; however, it is possible to determine the desired amount. To verify this setting, log in to the Netsapiens Admin portal, and then navigate the following path: Users > Configuration > User Name > Call Limit. There you can enter the desired amount of calls the extension should handle.
Updated 2 days ago