Contact Center Agent Client (CCAC) Configuration and Use
This article provides step-by-step instructions on the set up and use of the Xima CCaaS Contact Center Agent Client
Set Up
As long as the corresponding manager has properly assigned their agents to the skills the Contact Center Agent Client (CCAC) will set up automatically.
Accessing Contact Center Agent Client
To access the Xima CCaaS Contact Center Agent Client (CCAC):
- Open the desired web browser and enter the Xima CCaaS IP address followed by “/ccagent” in the URL. This will take you to the login screen of CCAS.
Note: It is recommended that you bookmark this page
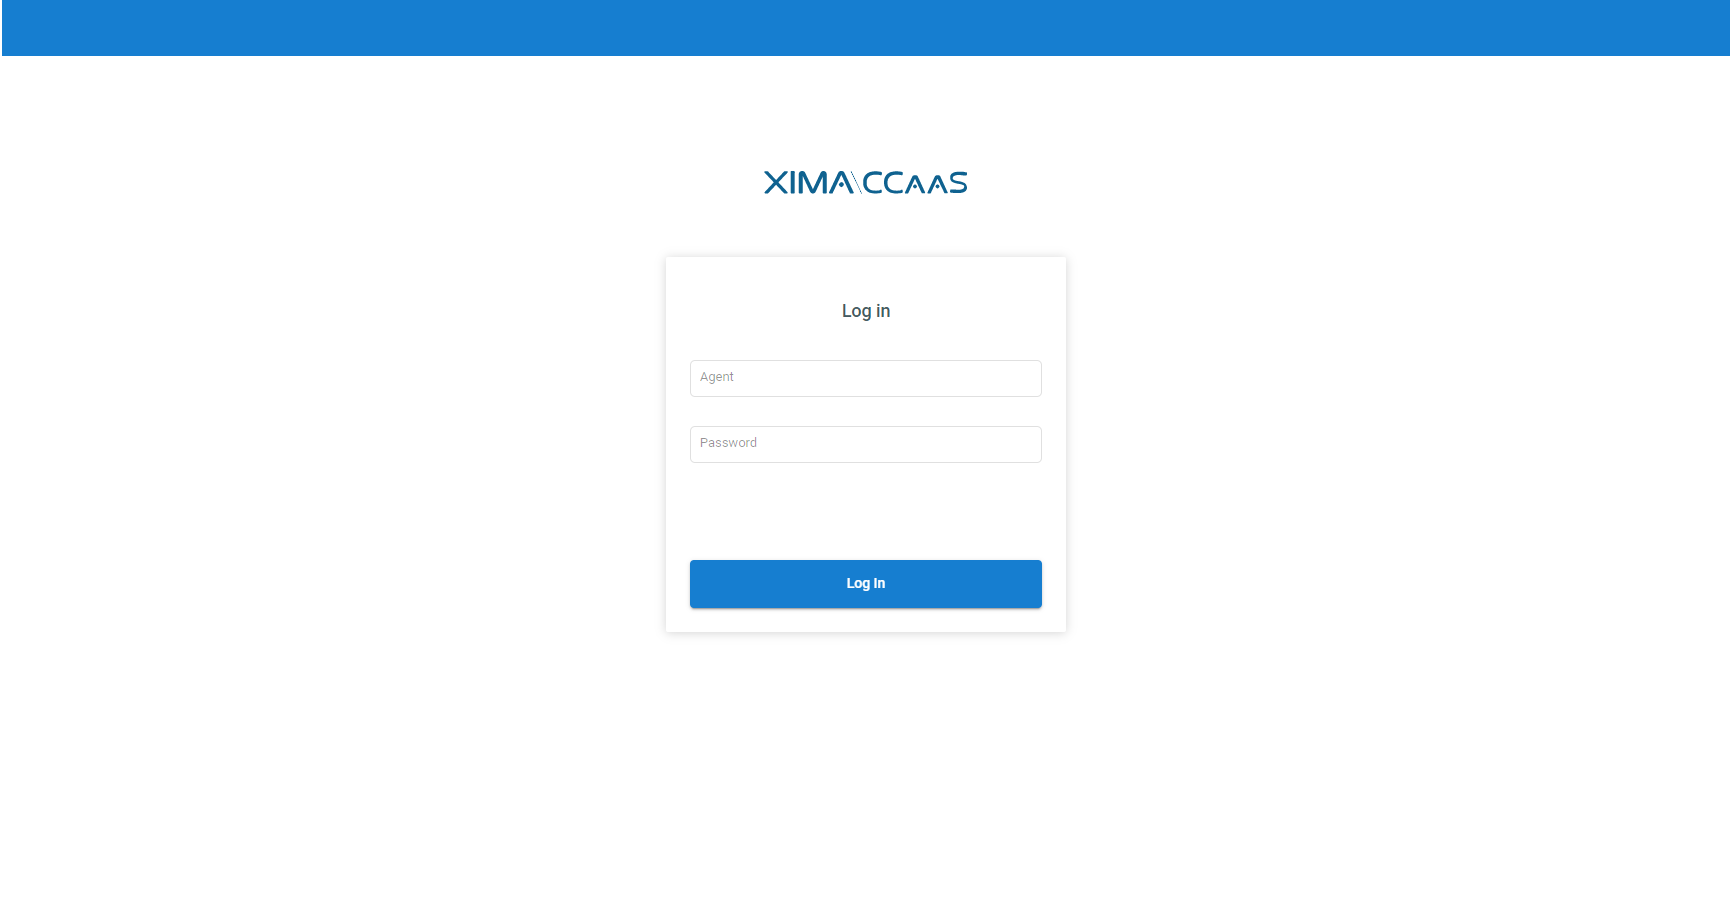
- To log in, simply start typing your name, or scroll through the dropdown list of names and find your name.
- Enter the password. By default, this will typically be your extension, unless it has been changed for you. This can also be changed at any time.
- Hit "Log In".
You will now be logged in.
CCAC Features
Agent Name Display
Once logged, in the top-left corner of the webpage you’ll see your name and profile picture (if it has been added). Next to your name there is an ellipsis icon. Clicking on the ellipsis icon will present a number of things.
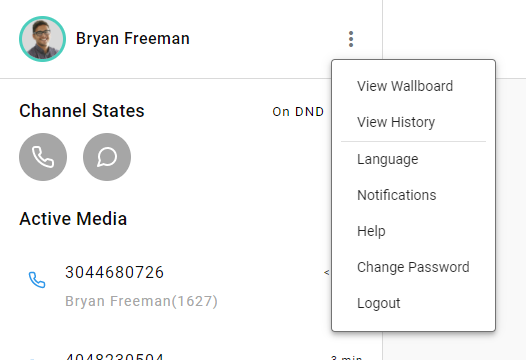
- View Wallboard: This option displays Realtime wallboards that were created by your manager and shared with the role(s) that the you belongs to. This provides the ability for you to know what is happening in realtime with your skill(s).
View History: This option switches the main screen to view all of your calls and/or chats that have taken place today, including information such as the caller number, time of call, date of call, and more.
Language: This option allows you to select which language you want the interface to display.
Help: This option will link to this article to help answer any questions in regards to using the CCAC.
Change Password: This option allows you to change your CCAC password.
Note: The administrator can reset your CCAC password if necessary.
Logout: This option allows you to log out of the Contact Center Agent Client.
Wallboards
You’ll be able to view the wallboard(s) your manager has assigned to you. If you have multiple wallboards, you can click the arrows on either side to scroll and view.
Channel States
This section allows you to select whether you are ready to receive calls and/or chats. If the call and/or chat circles are blue, it means you are ready to receive calls and/or chats.
Note: If the circles have a little red circle near the top, it means you have used your phone to put yourself on Do Not Disturb (DND). Additionally, putting yourself on DND on your phone means that you will not receive any calls.
When you do put yourself on DND, a window will pop up that provides options for you to select from as to why you are on DND, but only if the agent has been assigned Busy Codes under the Agent Dashboards configuration in Xima CCaaS.
Contact Center DND
Contact Center DND is commonly referred to as "Not Ready". This is different than your phone DND because your phone DND is not skill-specific.
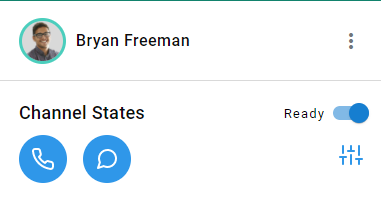
If you are on Contact Center DND (CC DND), then it is still possible for you to receive calls on your phone, but they will not be skill-specific calls. This feature is a toggle next to “Channel States.” It will be blue when you are not on CC DND and will be gray when you are on CC DND.
- Blue = Ready to take calls
- Gray = Not Ready to take calls
Manage Skills
The “Manage Skills” icon is located just below the CC DND toggle. This feature allows you to log in to your skill groups.
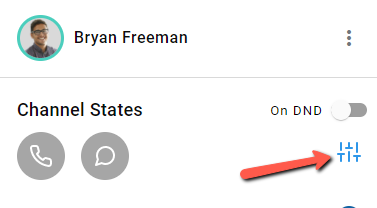
There is also an option at the bottom of the window for you to select or deselect all of your skills simultaneously.
Interacting with Calls
When a Contact Center agent is logged into the Contact Center Agent Client (CCAC), they will have the option to interact with their calls in three different ways. When the agent receives a call, there will appear three tabs on the right side of the screen.
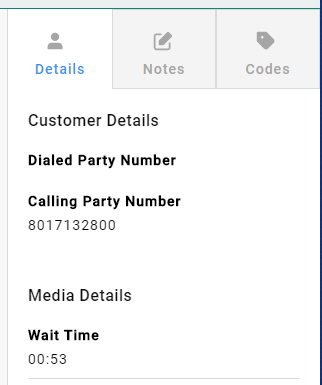
Details - This tab displays the call details. Items such as Caller Name, Caller Number, as well as which skill the call applies to.
Notes - This tab allows an agent to add any desired notes to the call. The notes will then appear next to the coordinating call in Cradle to Grave.
To add Notes:
- Click on the "Notes" tab.
- Click in the text box towards the bottom of the window.
- Type in the desired note.
- Hit "Post".
- Repeat if necessary.
Codes - This tab allows an agent to add account codes to the call.
To add Account Codes:
- Select the "Codes" tab.
- At the bottom of the page, there is a drop down that says "Account Code". The agent can click in that field, and a list of their assigned account codes will appear.
- Select the desired Account Code, then select "Post".
The call will now be associated with the selected account code.
Note: An agent can add multiple account codes for each call. Once they post the initial account code, they can then click in the account code field again and select additional account codes.
Updated 3 months ago
