Supervisor View
This article provides information on how to use the Supervisor View feature in Xima CCaaS Realtime.
The Supervisor View feature provides the ability to simultaneously monitor a group queue as well as individual Contact Center agent activity throughout the day. Each Contact Center agent will be represented on a customizable tile that will display their current activity, as well as the desirable Realtime values.
Accessing Supervisor View
To access the Supervisor View click on the trending upward arrow icon located on the left-hand side of the screen, and click on “Supervisor View.”
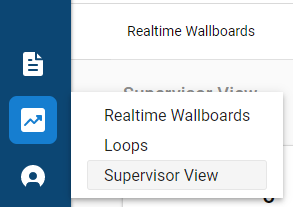
In the top left-hand corner of the web page that appears, there will be a drop-down button that will most likely say “Sort by agent name (ASC)”. This allows you to sort by agent name or extension.
Customizing Supervisor Metrics Video
Agent Tiles
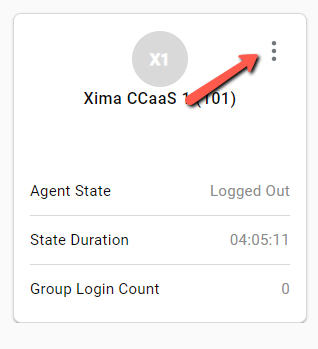
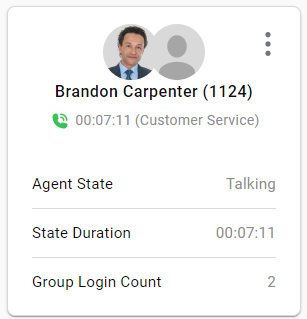
Most of the page is comprised of boxes featuring the Realtime agents. You can click the ellipsis icon located in the top right-hand corner of each agent box to make a number of changes.
-
Edit Profile: This option allows you to enter in an agent’s name, extension, and profile picture.
-
Edit Agent Metrics: This option allows you to select and adjust what metrics appear in an agent’s box. Default will display Agent State, State Duration, and Group Login Count, however, you have the option to change, remove, and/or add additional metrics
-
View Active Groups: This option shows what Groups/Skills an agent belongs to. It also shows them which Groups/Skills they are active or inactive in.
-
Manage Skills: This is a Contact Center feature that allows you to assign or unassign a skill to an agent.
-
Manage Channels: This is a Contact Center feature that allows you to enable or disable an agent from being able to take calls and/or web chats.
-
Enable CC DND: This option allows you to put an agent on DND or take an agent off DND.
-
Log User Out: This option allows you to log out an agent from all of their skills and from CC Agent
Supervisor View Parameters
There are a couple other very useful buttons, both of which are located in the top right-hand corner of the web page.
Filter
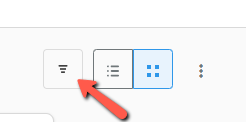
Selection Mode: This option allows you to select whether you would like to filter groups or agents.
-
Groups: This option allows you to select which specific groups you would like to filter from.
-
Agents: This option allows you to select which specific agents you would like to filter from.
Display Offline Agents: This gives you the option to display or not display offline agents. (i.e., Agents that are logged out of a skill.)
State: This option allows you to select what type of specific events you would like to filter, e.g., dialing, hold, queue, talking, etc.
List or Tile Display
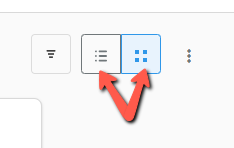
By selecting these options, you will be able to select how you would like the selected Contact Center agents to display.
The default option is the tile option. This will display each agent in their own tile.
The other option is to display your Contact Center agents in a list format.

This format displays the same information as the tile, but instead of a separate tile, it will display the agents alphabetically in a list.
Ellipses
The last option is the ellipsis button, which is not to be confused with the ellipses next to each agent.
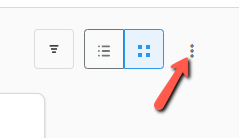
Here, you will see several options that will allow you to configure the Supervisor View to your specific needs.
Edit Summary Metrics: This option allows you to set which summary metrics you would like featured at the top of the web page, e.g., queued calls, average queue duration, presented calls, etc.
Edit Metrics for All Agents: This option allows you to select and adjust what metrics appear in all agents’ boxes.
Note: This can also be done by individual agent. See the Agent Tiles section of this article for help.
View Calls in Queue: This option allows you to select which types of calls you would like to show up in any queue count, as well as manually forward a call to an agent.
Updated 3 months ago
