Configuring Your Metaswitch Mobile App (Android)
This article provides step-by-step instructions on how to configure your Metaswitch mobile app if you have an Android phone.
Negating the need for a Desktop softphone or a physical phone, Metaswitch’s mobile application (Max UC) can be used instead and is compatible with Xima CCaaS.
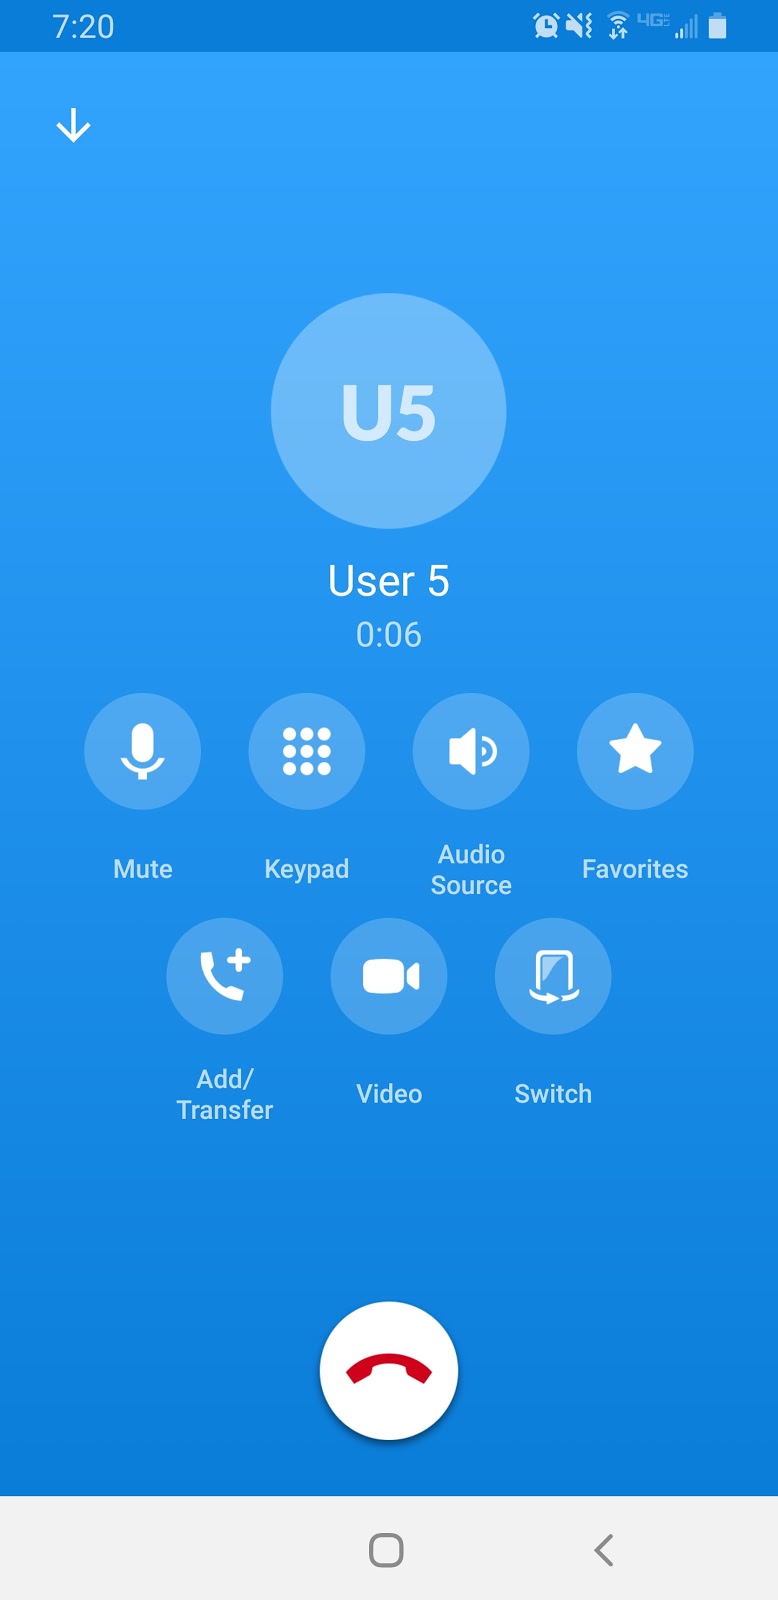
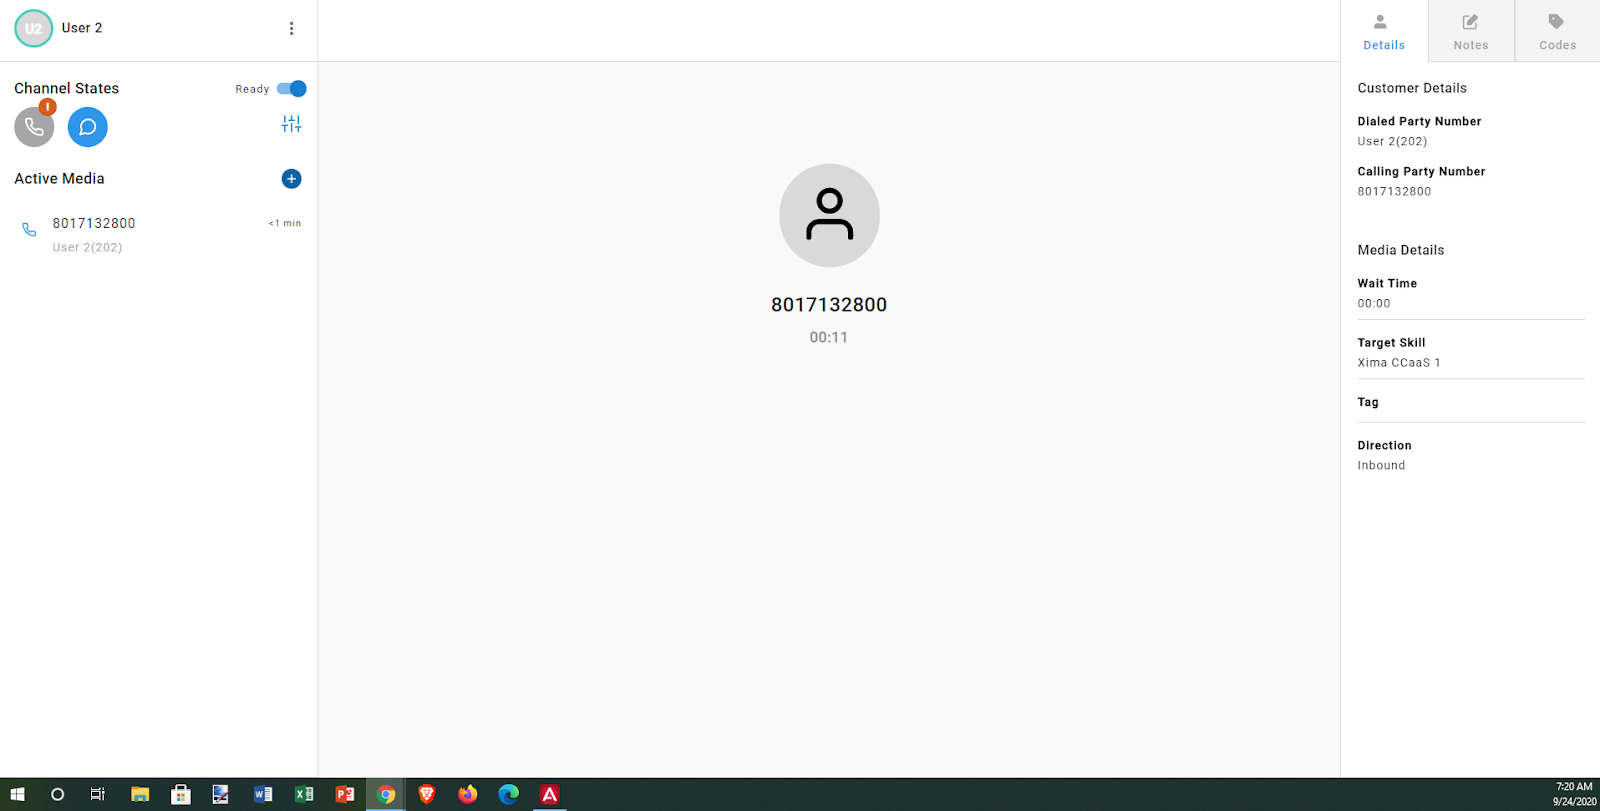
In order to see the calling party information, one must be signed into the CCAC (Contact Center Agent Client) on the Xima CCaaS software itself. Due to how we configure the software, i.e., utilizing a UC extension to route calls, the mobile app itself will show that internal extension of what you’ve configured for this purpose. It will not show which Contact Center group the call is a part of, nor the other calling party information. You must utilize the CCAC to see that information and add in account codes, notes, and everything else. You will be 100% limited to being able to answer the call via the mobile app if you aren’t signed into CCAC on your desktop.
Example Calls
Mobile App for a Contact Center Call
Note the named internal extension.

CCAC for a Contact Center Call
Note the additional calling party information and functionality.

With all of that said, if you still wish to utilize the Metaswitch mobile application, please follow these steps to download, set up, and configure.
- On your Android phone, go to the Google Play Store and Search for Metaswitch or search for the name of the app, which is called “Max UC.”
- Once installed, you will be prompted for a login. Click “Login.”
- Your Android phone will request permission for a few different things. Allow permissions for all of these things. Once you have allowed all permissions, it will navigate you to a screen that gives you a few options on how to log in.
Your carrier can provide you with an email or a QR Code, but if you have neither, then you’ll need to use the “Log in Manually” option, which is the method this article will focus on.
- Click “Log In Manually”
- You’ll be provided a list of carriers. Select which one applies to you. These are listed in alphabetical order.
- Once your carrier is selected, you’ll be prompted to allow for incoming calls and/or outgoing calls.
- This is also your opportunity to see the Terms of Use. After viewing, click “Accept & Continue” on the Terms of Use.
You will finally be directed to the login page. Your login screen will reflect the carrier in which you selected on the previous screens.
- Just like signing into your phone, you will need to enter in your phone number (or email, if enabled) as well as your EAS Password, which will likely differ from your actual SIP phone password. Enter in that information.
If you don’t know what your EAS Password or login is, please contact your carrier for more information and they will likely reset it for you, which will allow you to log in with a new password.
- The next screen you see will be the “Move Calls to Mobile.” If you wish to enter in your mobile number as per the prompt, feel free to do so.
- The last set of pages is a quick tutorial of some features. You can sift through them all, or click the “skip” option in the top right corner.
After this, you’re all set up and ready to receive a call.
Updated 3 months ago
