
CRM Integration - Xima CCaaS
This article covers CRM Integration, and how it integrates with Xima CCaaS
CRM Integration Key Features
- Click-to-Dial - Click on a number on the screen and then click on the phone and have it dial automatically
- Caller Preview - Ability to see a call as it comes in based on the database, and tells you information about that customer if available
- Contact Popping - Automatic or Manual contact popping. For example, based on a caller's phone number, it could pull up that customer's record
- Address Book - Search within the address book as it relates to your CRM system and then click to dial from there
- Activity Logging - Allows you a log of activity within the CRM system and links it back to Xima CCaaS
- Note: Depending on the CRM Integration, you may or may not have all of these features based on availability on the selected integration
Video Training
Steps To Enable CRM Integration
-
Sign into your web browser as an agent\
-
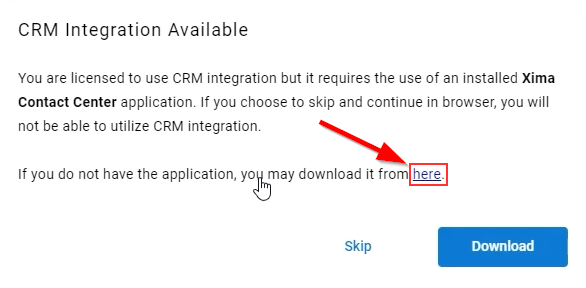
If your user agent login is licensed for CRM Integration, you should get a pop-up to download the application. Click here to download the application\
-
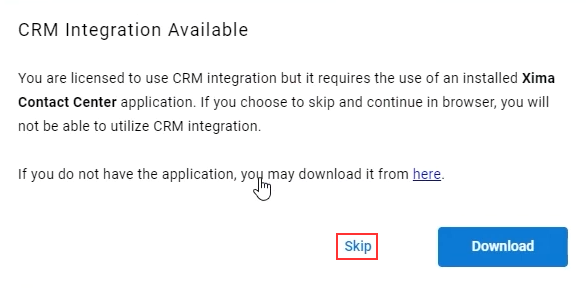
Now select Skip, then select (...) and then Logout of the Agent Client\

-
Locate the downloaded application, and install it
-
Sign into the application just like you did earlier on the web browser\
-
-
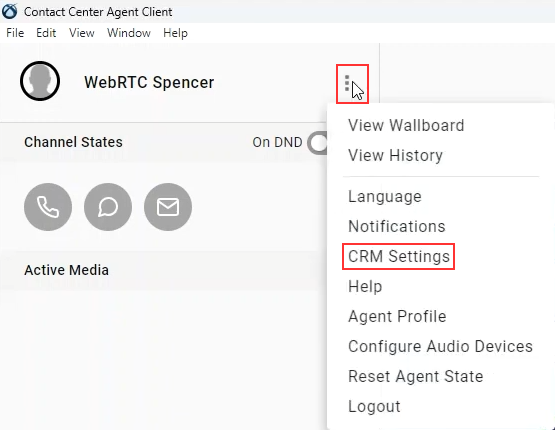
Once logged into the application, select (...) and then CRM Settings\

-
Enter the details for your CRM Integration
-
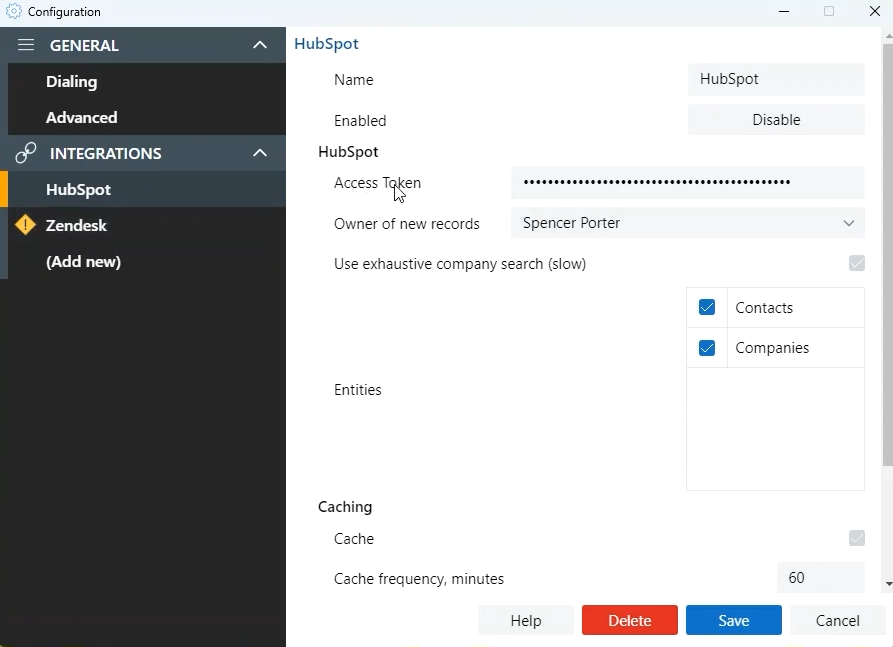
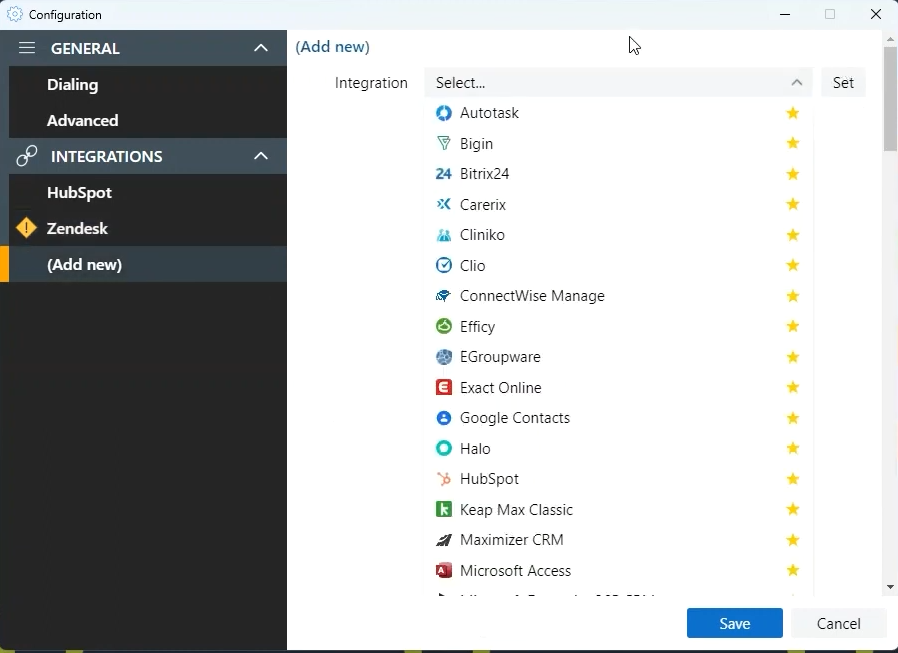
In the example below, we have examples of both HubSpot and Zendesk, but if you do not see your listed integration you can select Add new to see our some of our 300 supported integrations. You can reach out to our support team to inquire further if you do not see your integration listed\
-
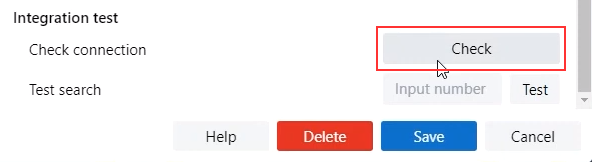
Here we can scroll down and click Check to test our connection using the Access Token for HubSpot our HubSpot Administrator gave us in this specific example\
-
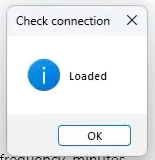
You should see Loaded if the API connection was successful. When successful, select Save to save your new connection\
-
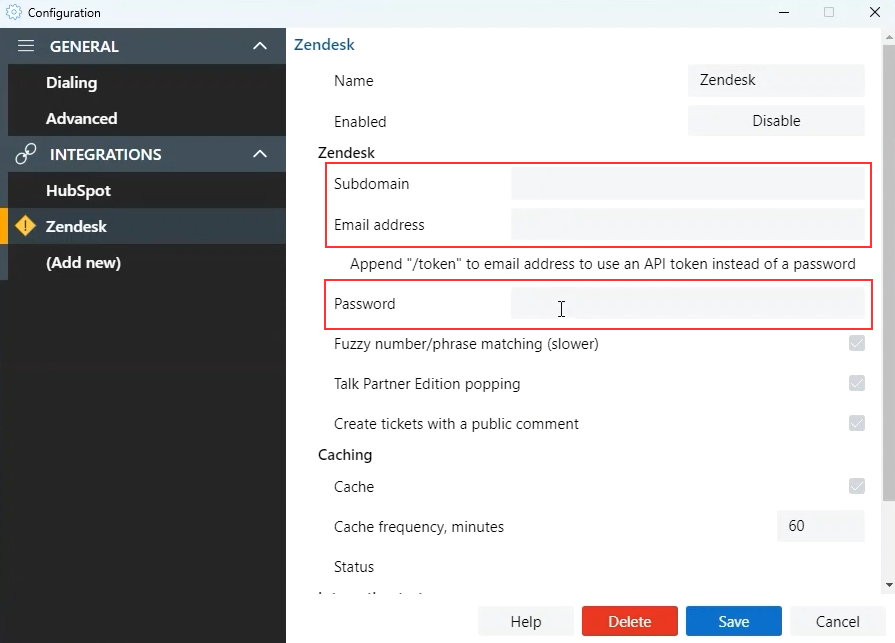
For Zendesk as another example, here you see for this Zendesk API integration we need the Subdomain, Email Address, and Password to connect to their API\
Supported CRM IntegrationsWe support over 300 integrations, so if you do not see your supported integration in the list below, feel free to reach out to our support team to see if we support the integration or plan to in the future\
-
| CRMs |
|---|
| 4me |
| Act! 2010+ |
| Apex27 |
| Autotask |
| Bigin |
| Bitrix24 |
| Call Connect GP (Patient Connect) |
| Candor SIS |
| Carerix |
| Cliniko |
| Clio |
| cobra |
| ConnectWise Manage |
| crmSeries |
| Dezrez |
| Efficy |
| EGroupware |
| Exact Online |
| FasterForward |
| FlexKIDS |
| Fuse Metrix |
| GoldMine |
| Google Contacts |
| Gorilla |
| Halo |
| Halo Service Desk |
| HubSpot |
| Infor CRM / Saleslogix |
| JobDiva |
| Keap Max Classic |
| LDAP |
| Logical Office |
| MatchMaker Kairos |
| Maximizer |
| Maximizer CRM |
| Microdec |
| Microsoft Access |
| Microsoft Business Central |
| Microsoft Dynamics 365 CRM |
| Microsoft Dynamics NAV |
| Microsoft Outlook |
| Microsoft Outlook on the web |
| monday.com |
| National Directories |
| NetSuite |
| NxtMatch |
| ODBC |
| Odoo |
| OTYS |
| PCHomes |
| PerfectView |
| Pipedrive |
| QuickBooks Online |
| Really Simple Systems |
| Recruit CRM |
| RecruitNow Cockpit |
| Red Spot Interactive |
| Redtail |
| Redtail CRM |
| Rezi |
| RPM |
| Sage 50 Accounts |
| Sage CRM |
| Salesforce |
| Salesforce CRM |
| Salesforce Open CTI |
| Salos Automaat GO |
| ServiceMax / MobileMax Service |
| Simplicate |
| SMEProfessional |
| SugarCRM |
| Survey Booker |
| Teamleader |
| Teamleader Focus |
| TechMan Garage Management System |
| ThinkkaSAM |
| Titan |
| Trengo |
| UCServer |
| Vtiger |
| Vtiger CRM |
| webCRM |
| Websolve |
| weclapp Cloud CRM |
| WinSIMS |
| Workbooks |
| Zendesk |
| Zoho Bigin |
| Zoho Creator |
| Zoho CRM |
| Zoho Recruit |
Key Feature Details
- NOTE: The below examples were created using HubSpot, but the steps should be similar for other integrations as each CRM can vary on available options
How To Enable Click to Dial
-
Navigate to (...) then CRM Settings while logged in\
-
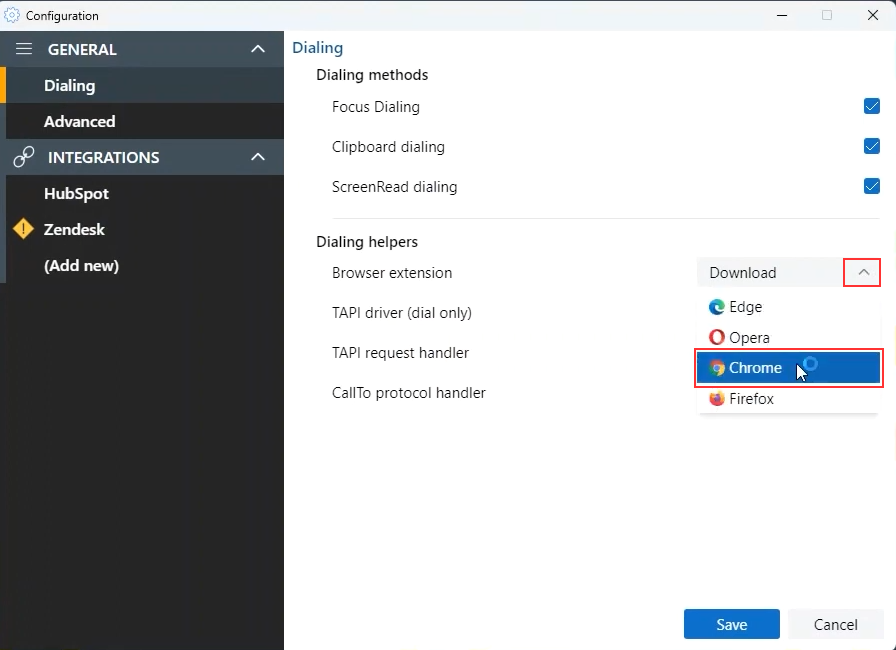
Select the Browser Extension you would like to download for your applicable browser\
-
Here you will see we already have the browser extension installed on Chrome by going to our browser extensions\

-
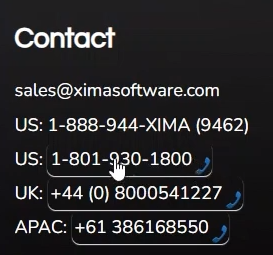
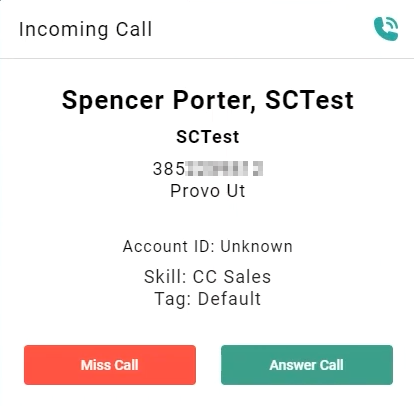
With that browser extension installed, you will see the ability to click on a phone number to dial it from the browser as shown below\
-
You will see the Contact Center Agent Client dialing out after clicking a phone number, and you can Answer Call or Miss Call\
Enable Caller Preview and Contact Popping
-
You can configure the Caller Preview to pop automatically or manually
-
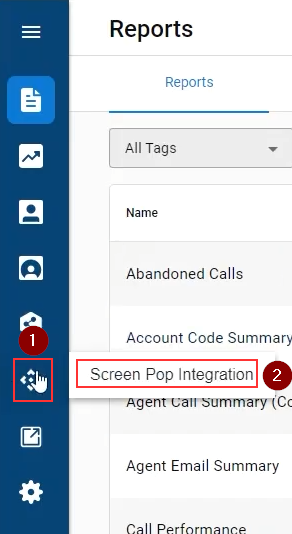
To configure Caller Preview, log in as a CCaaS Administrator, and then navigate to Screen Pop Integration\
-
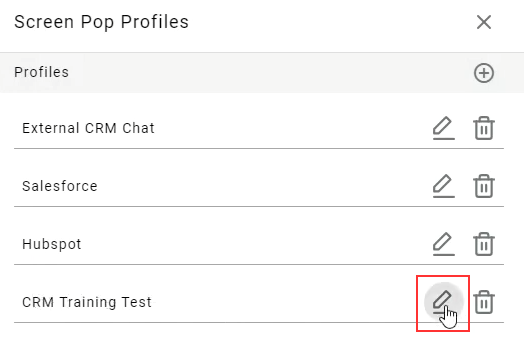
From here we can look at the configured Screen Pop Profiles. For the below example, we are going to review the CRM Training Test profile we created by selecting the Edit icon\
-
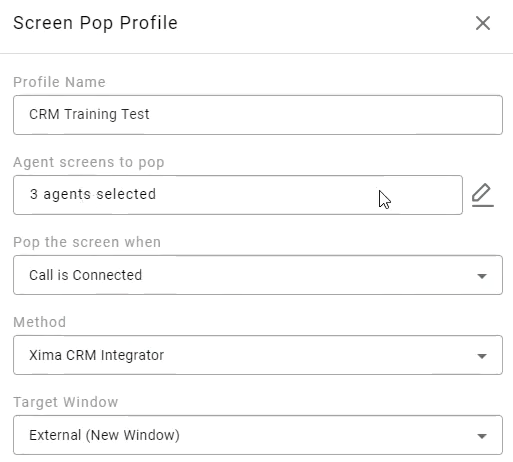
For the CRM Training Test profile we have created here, we can review how it is configured\
-
Any agents licensed for CRM you select for Agent Screens to pop will automatically get a screen pop
-
If you want the screen pop to be manual, license them for CRM but do disregard selecting them from the list above
-
For Agents: To manually trigger a screen pop, select Open in CRM from the Contact Center Agent Client Screen on the right side of the screen\

-
-
Choose when to Pop the screen for the call\
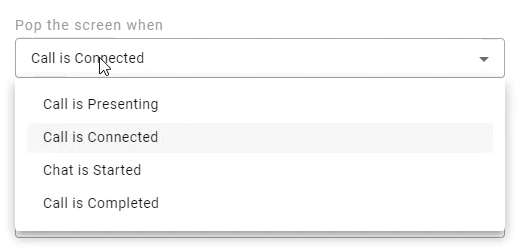
- Call is Presenting - When the call is ringing the agent, it can pop
- Call is Connected - When the agent answers the call, the pop is triggered
- Chat is Started - Pops when a webchat is started based on the email address
- Call is Completed - When the call disconnects, the record will pop for the agent
-
Method: For Method, you can select Xima CRM Integrator as shown above for the application method using the Contact Center Agent Client, or you can also select Embeddable Link if using a browser\
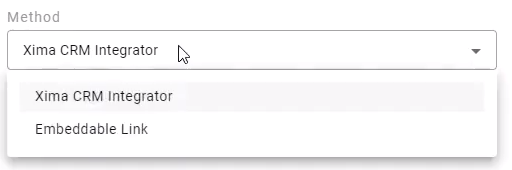
- NOTE: Link embedding depends on the website's permissions. If the site doesn't allow it, the link may not display correctly. Contact the website admin if you encounter issues
- If you select Embeddable Link, you can select External (New Window) or Embedded (Agent Client) for the Target Window
-
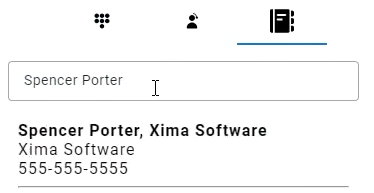
Address Book
-
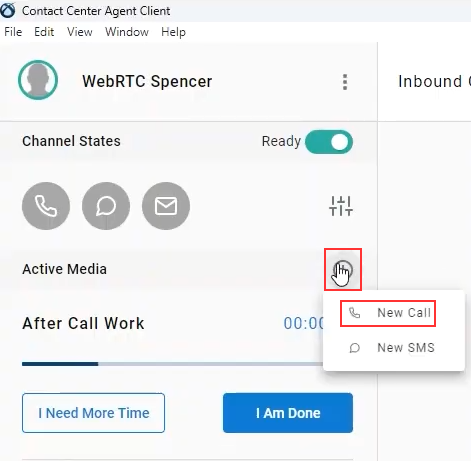
To search the address book from the Contact Center Agent Client, select the + sign to the right of Active Media and then New Call\
-
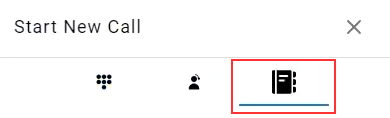
Select the Address Book from the Start New Call screen\
-
Type in the name of the person you wish to search for and select them from below\
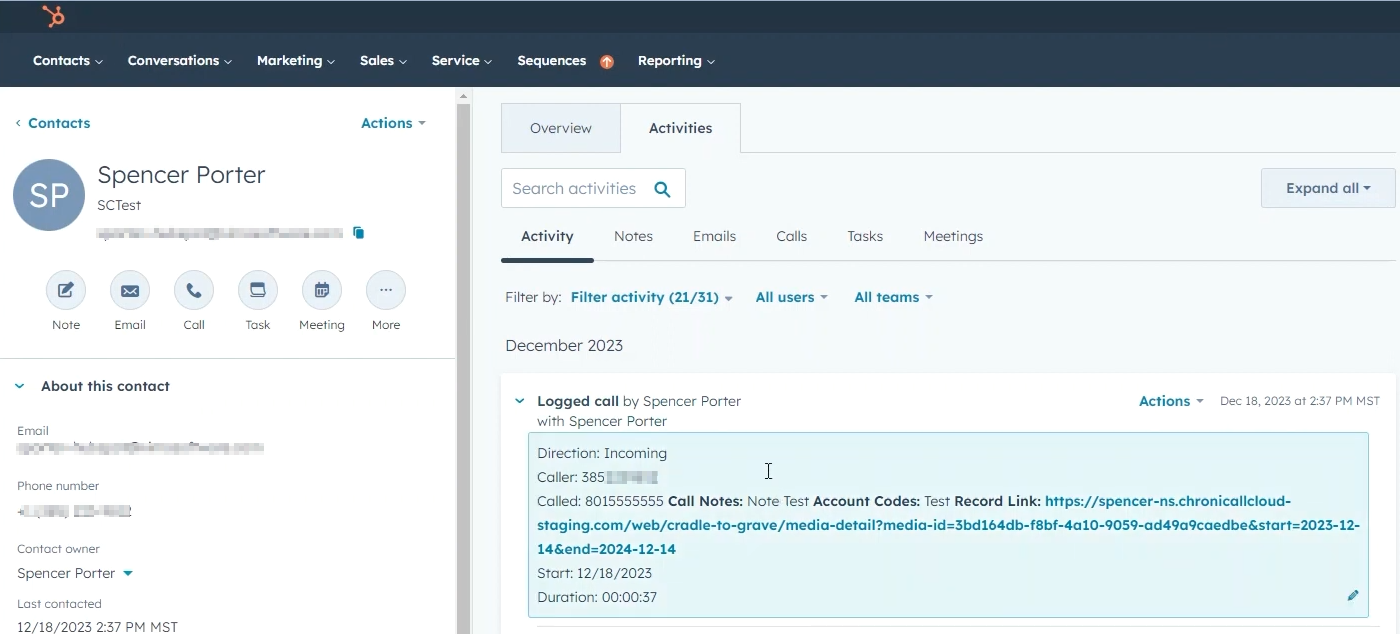
Activity Logging
-
Here you will see an example of a call that was logged with HubSpot (Click to expand). You can see the incoming phone number, the notes for the call, and a record link\
-
The record links to the database in our system, and it will pull up the record from our side in Cradle to Grave\

-
Updated 9 months ago