
Build a New AI Agent Profile
You may build an unlimited number of AI Agents to each serve a different purpose. A common example would be to have a different AI Agent for each department to help it focus on material and tasks relevant to the team. However, you may have a single AI Agent instead who can address cross-departmental requests.
Create an AI Agent Profile
-
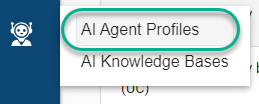
Navigate to "AI Agent Profiles" from the navigation menu:
-
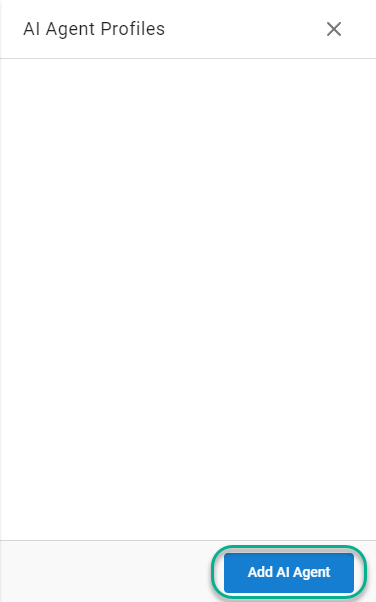
Here you will find your list of existing profiles. To create a new one, select "Add AI Agent" at the bottom.
-
Define the following values:
- AI Agent Name: Give the AI Agent a name that will be internally recognized for its purpose. For example, "Sales Bot"
- AI Agent Nickname: This is the name customers will see when chatting with the mapped bot. A good practice would be to make it a more relatable name. (i.e. Sal the Sales Bot)
- Extension Number: As the statistics of the agent will be reportable, you'll need to assign the agent an available extension.
- Canned Greeting: When an AI Agent is engaged, this is the greeting it will use with your customers.
- AI Agent Persona: Define how the agent speaks with the customer. Out of the box, the personality of the bot will be professional and conversational. However, you may define a persona that is more inline with your company and clients. As an example, if you are an online flower shop, you may define the persona to be a florist who is friendly and excited yet sympathetic when the occasion calls for it.
-
Save your Changes

Adding Tools for the AI Agent
Now that you've built a new AI Agent, you'll next want to add tools to the bot as outlined in the following article:
Updated 2 months ago