Configuring RingCentral Mobile App (Android)
Negating the need for a Desktop softphone or a physical phone, the RingCentral mobile application can be used instead and is compatible with Xima CCaaS.
In order to see the calling party information, one must be signed into the CCAC (Contact Center Agent Client) on Xima CCaaS software. Due to how we configure the software, i.e., utilizing a UC extension to route calls, the mobile app itself will show that internal extension of what you’ve configured for this purpose. It will not show which Contact Center group the call is a part of, nor the other calling party information. You must utilize the CCAC to see that information and add in account codes, notes, and everything else. You will be 100% limited to being able to answer the call via the mobile app if you aren’t signed into CCAC on your desktop.
Example Calls
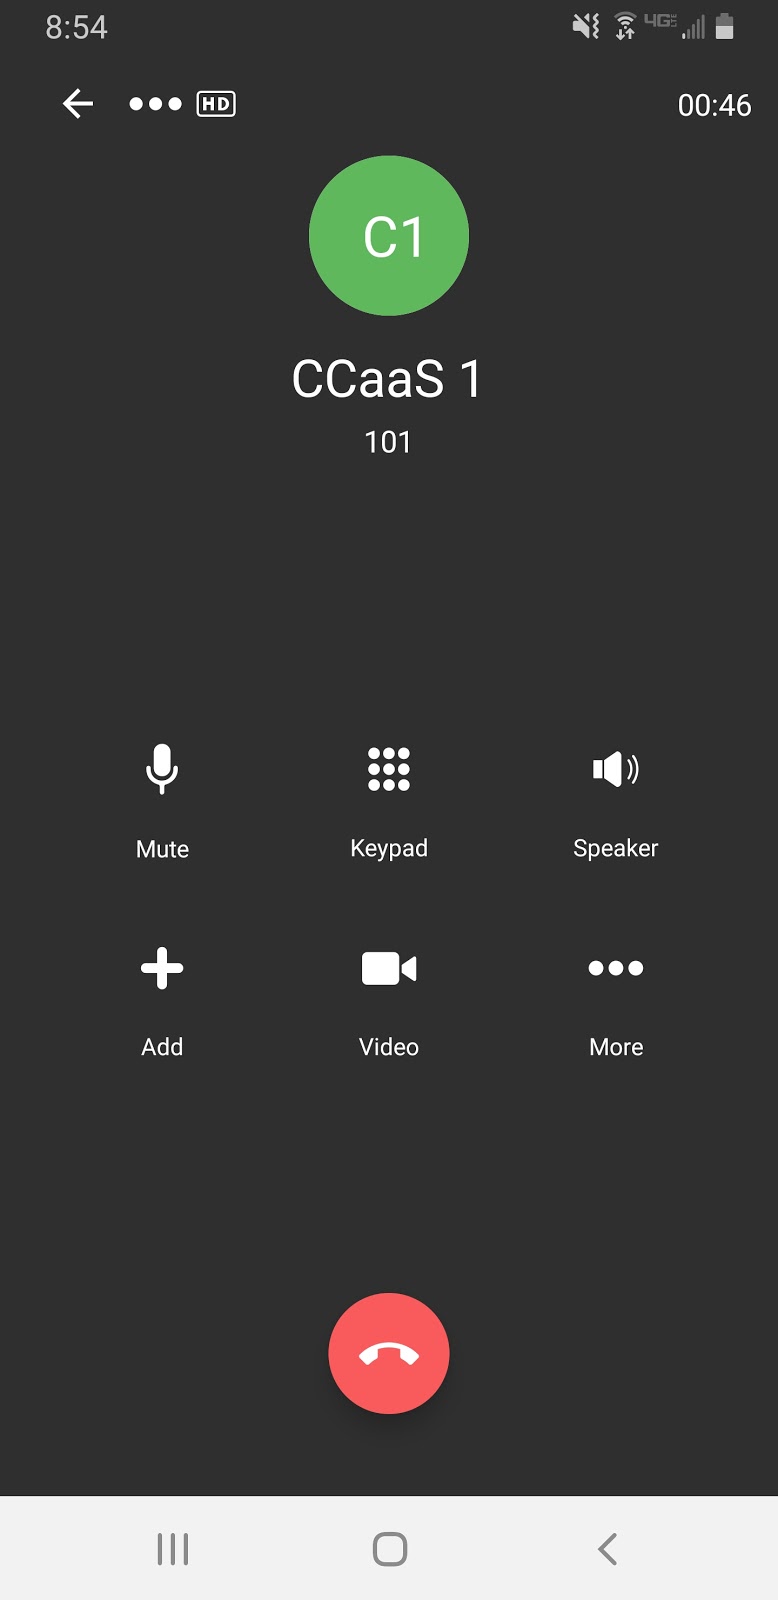
Mobile App for a Contact Center Call
Note the named internal extension.

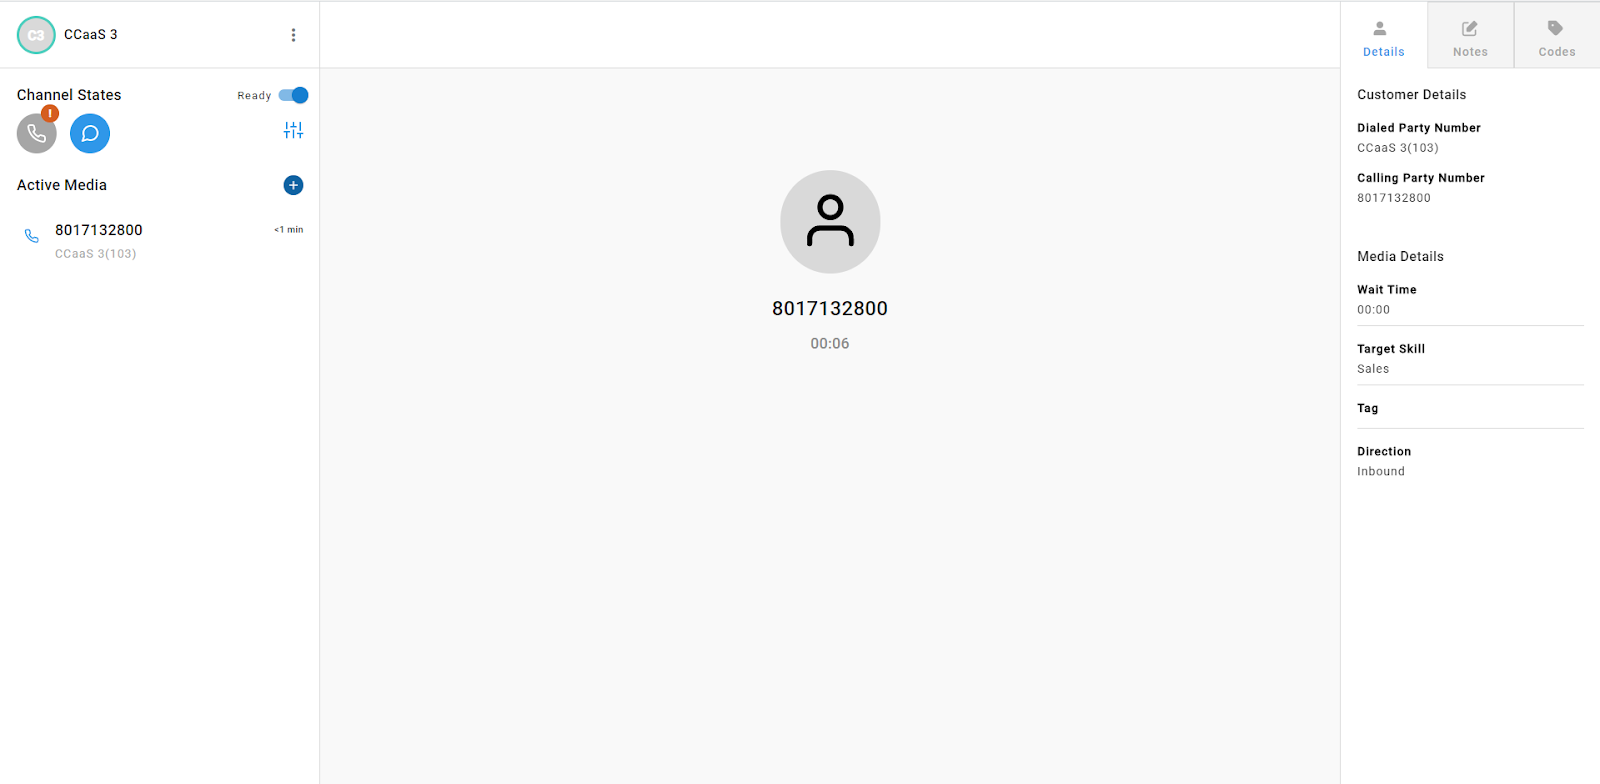
CCAC for a Contact Center Call
Note the additional calling party information and functionality.

With all of that said, if you still wish to utilize the RingCentral mobile application, please follow these steps to download, set up, and configure.
There are two ways to configure this. The first is if you have an existing phone and want to change to using the Mobile App, and the second is if you’re a new user and want to configure the Mobile App initially upon setup.
If You Have an Existing Phone
- Sign in as an “Administrator” in the RingCentral portal.
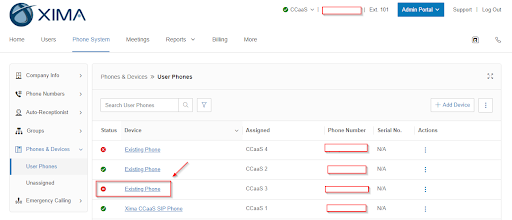
- Go to “Phone System” and select the user that you want to utilize the RingCentral App. For this example, I’m going to use user CCaaS 3.
- Click on the “Existing Phone” option to open up the device associated with that user.

- Click on the “Change Phone” option and select “RingCentral Phone app.”
- Then click the tick box to confirm the statement and click “Next.”
- Confirm the “Emergency Address” and then click “Next.”
- Confirm the last page by clicking “Next.”
New User App Configuration
- Sign in as an “Administrator” in the RingCentral portal.
- Go to “Users” and then “Add User.”
Please know that at the end of this configuration flow, you will be prompted for billing and payment by RingCentral.
- Follow the flow and click on the “Select a Device” dropdown.
Once selected, it will put you on another page to allow you to configure an available device. It will highlight the devices you have available and provide you with the option of “Other Phones.”

- Select “Other Phones.”
- Select the “RingCentral Phone App” and then click “Next.”
- Click “Add” and then click “Next” to exit the check out screen.
- Click the tick box and then click “Assign to Selected.”
- Click “Next.”
You can then send an email to invite yourself (or another user) to finish registration and configuration. It will ask for your email address and prompt you for a pin and a password. Fill the information out accordingly.
These credentials that you’ve set up for your user can be used to access the Mobile Application.
- On your Android phone, go to the Google Play Store and Search for the RingCentral app, which is simply called RingCentral.
- Install the application. Once installed, it will ask for a login.
- Tap “Sign in” and enter the email or phone number that is associated with your extension.
If you don’t have an account, click on “Create a free account.” If you don’t know what your login and/or password are, reach out to the Administrator in charge of your RingCentral account.
Upon signing in, it will ask you to provide permission to the RingCentral App for three different things. Allow all three permissions that appear.
That’s it! You are now signed into your application and ready to make and receive calls.
Updated 3 months ago
