
Account Codes
This article covers all the basics on Account Codes for Xima CCaaS
Summary
Account Codes allow your Contact Center agents to assign each call they receive a specific account code. Account codes can be whatever you would like them to be. Reasons for the call, client names, numbers, etc.
Below we will cover how to assign, modify, add, and delete account codes for your end users.
Steps To Assign, Add, Modify, Or Delete Account Codes
-
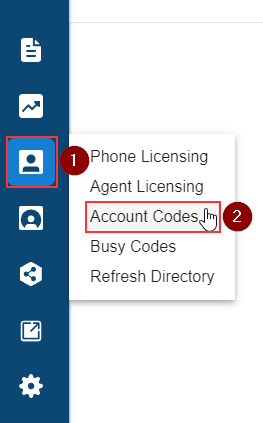
When logged into Xima CCaaS as an Administrator, go to User Management > Account Codes
-
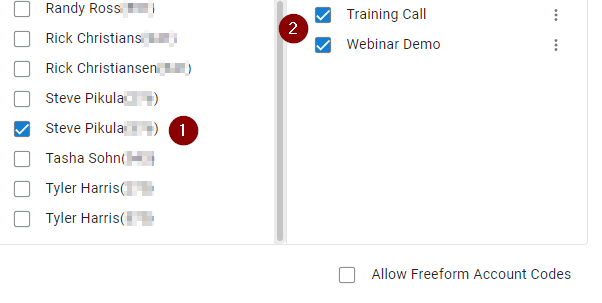
All of your agents will be listed on the left-hand side of the page. You can either select an individual agent by clicking their name on this list, or you can select the entire agent list by selecting Toggle All Agents.
-
Once you have selected your desired agent(s), then select the account codes you would like to add for them to utilize.
-
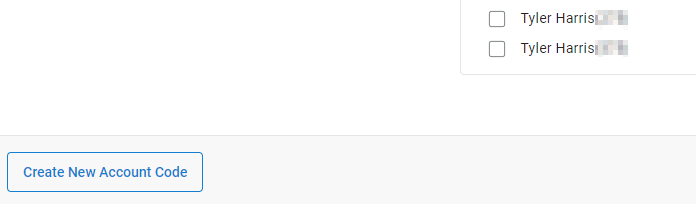
NOTE: You can Create New Account Code in the bottom left as shown here if that account code you want is not showing
-
-
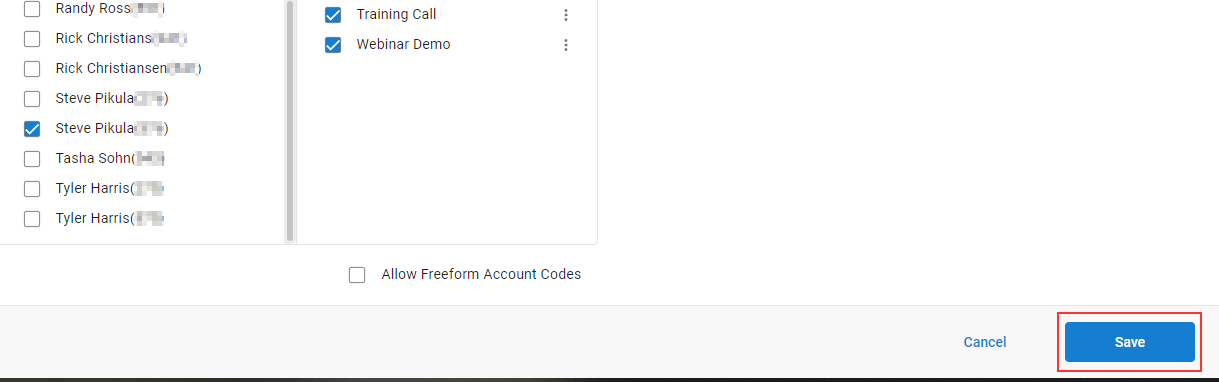
Once you have selected all the account codes for your desired list of agent/s, click Save in the lower right to save your changes.
-
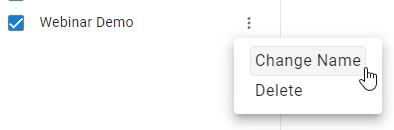
If you would like to change the name of an account code or delete an account code, click the (...) next to the account code to edit it, and select Change Name or Delete.
-
Enable Freeform Account Codes
-
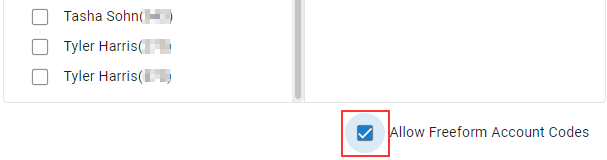
You can also check Allow Freeform Account Codes. Freeform account codes allow an agent to type a custom account code, one that is not available in the drop-down list of assigned account codes for that agent inside of CCAC. This is not to be confused with "Notes" which is a better option for transcripts or longer entries. For example, a common use for freeform account codes would be customer reference numbers or invoice numbers.
-
Agents can now enter custom freeform account codes for media in their client.
-
To do so, the agent will follow these steps:
- While a media contact is open (call, chat, etc), select "Codes" in the top left corner
- Click on the Account Code drop-down list at the bottom.
- Select the, now available, "Custom Account Code" option from the list
- Type out the custom account code desired in the blank field provided
- Select "Post" to apply the account code
Applying Account Codes As An Agent
When a Contact Center agent is logged into the Contact Center Agent Client (CCAC), they will have the ability to add an account code to any call that they receive.
On the right side of the screen, there will be three tabs.
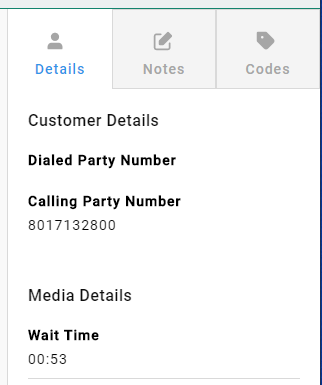
- Details - This displays the details of the call
- Notes - This gives the agent the ability to add notes to a call
- These notes will be visible with the call in Cradle to Grave
- Codes - This is where the agent can add account codes to the call
Whether on the call currently, or after the call has finished the agent can apply an account code. To do so, the agent must do the following:
-
Select the "Codes" tab
-
At the bottom of the page, there is a drop-down that says "Account Code". The agent can click in that field, and a list of their assigned account codes will appear
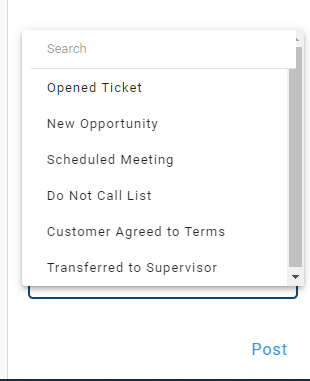
-
Select the desired Account Code, then select "Post"
- NOTE: An agent can add multiple account codes for each call. Once they post the initial account code, they can then click in the account code field again and select additional account codes if relevant
The call will now be associated with the selected account code.
Finished Calls
If an agent has forgotten to add an account code to a call, they can simply click on the vertical ellipses next to their name at the top of the screen in CCAC. From there, they can select "View History". This allows them to see a list of their calls. They can then select the call, and will then click on "Codes" to the far right. From there, they can follow the steps to apply an account code.
Updated over 1 year ago