
UC Phone Licensing
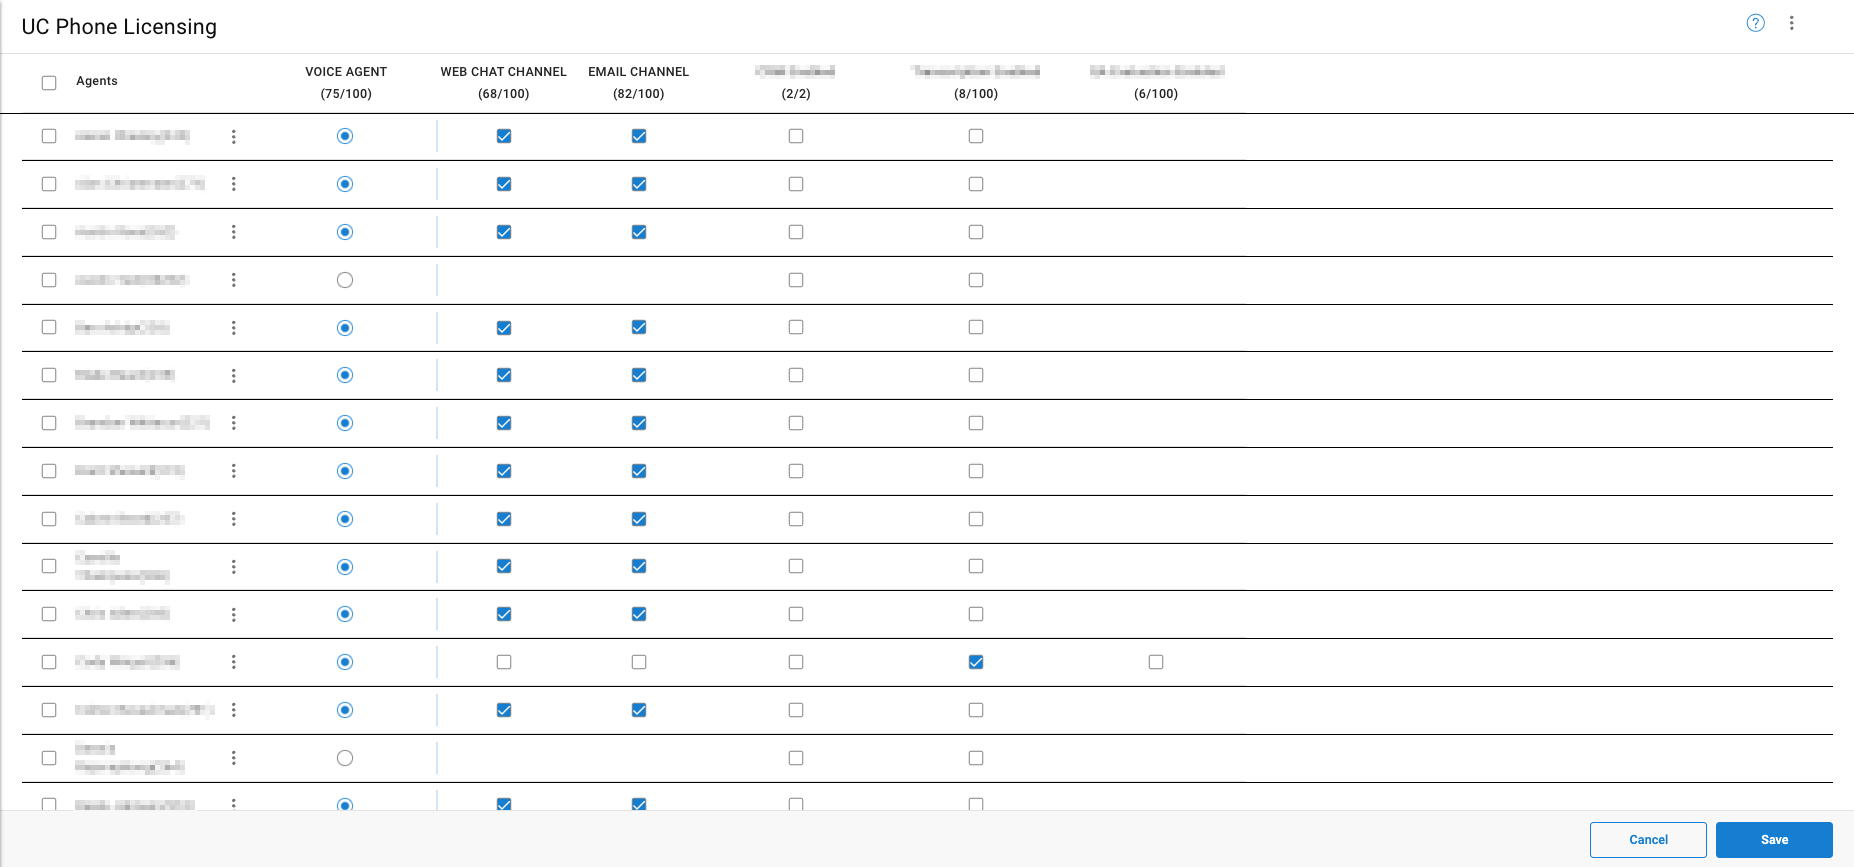
UC Phone Licensing manages licenses associated with the underlying UC platform, such as desk phones, soft-phones, and extensions.
UC Phone Licensing determines a user's ability to register a device and place or receive calls through the UC system. License assignment directly impacts how agents are counted in live metrics and reporting — statistics such as available agents, active calls, and agent state distributions all reflect licensed users.
Accessing UC Phone Licensing
UC Phone Licensing is accessible to accounts with Supervisor or Admin permissions.
- Navigate to
User Management > UC Phone Licensing - All UC agents are listed on this page
UC-Integrated Licensing
CC licenses may be applied to existing agents provisioned within supported UC platforms. Agent records can be retrieved directly from the UC directory and licensed through UC Phone Licensing.
Supported UC systems:
Licensing changes take effect immediately and are reflected across dashboards, wallboards, and reporting.
Editing a UC Agent Profile
- Select an agent and click the ellipsis next to their extension, then select
Edit - Profile fields:
Field Description Name Read-only — system-generated from the UC directory Email Read-only — system-generated from the UC directory Extension Read-only — system-generated from the UC directory Preferred Name How the agent appears in real-time displays and reporting - Recording Options — see Recording Modes and Options:
Option Description Allow agent to review their own call recordings Grants the agent access to their own call recordings in CCAC Agent may download their own recordings Allows the agent to download their own call recordings Allow agent to review skill call recordings Grants the agent access to recordings from all calls within their assigned skill queues, including calls they were not a part of Agent may download skill call recordings Allows the agent to download recordings from shared skill queues and create downloadable snippets - Click
Save
Updated 2 months ago